[1] This chapter describes how to check the availability of the web sites for students.
If you have configured your PC with your home network, and this is the first time to connect the campus network (HU-CUP), please refer the chapter 8 how to connect to HU-CUP.
[2] This is a movie of the procedure described in this chapter.
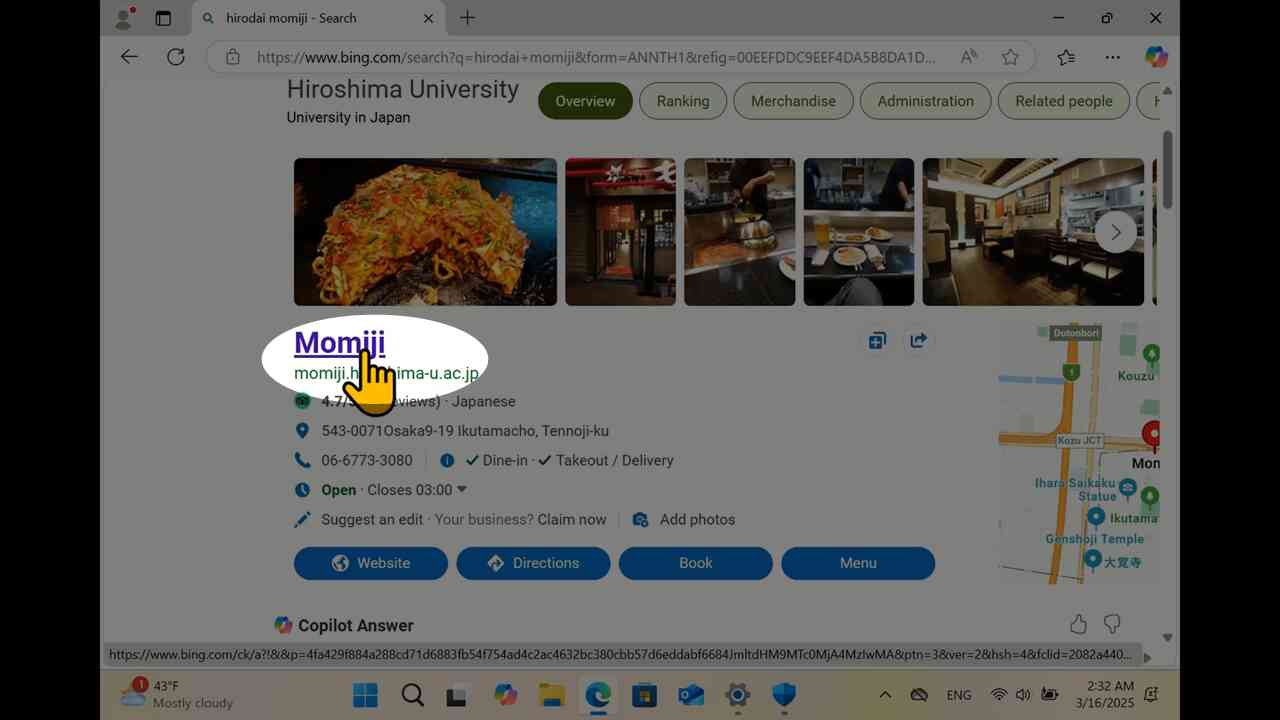
[3] Search "hirodai momiji" in web search engine, and launch "momiji.hiroshima-u.ac.jp".
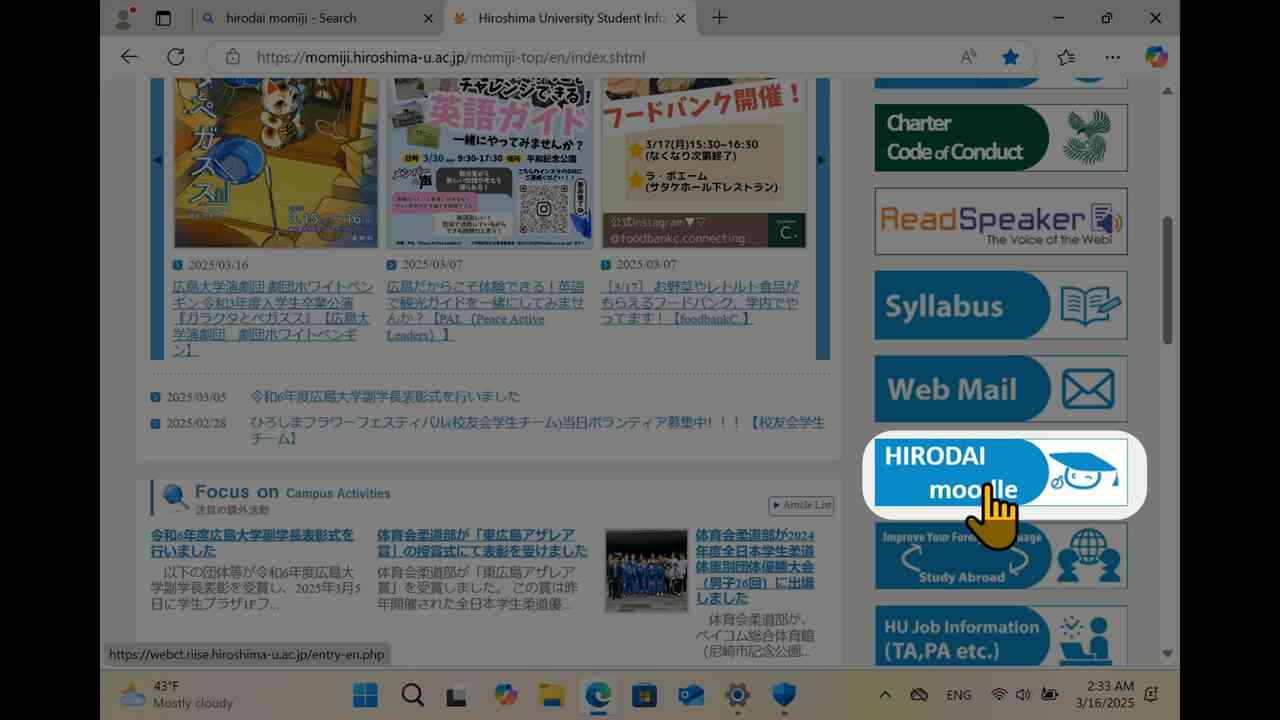
Hirodai Moodle
[4] Click "Hirodai Moodle" button.
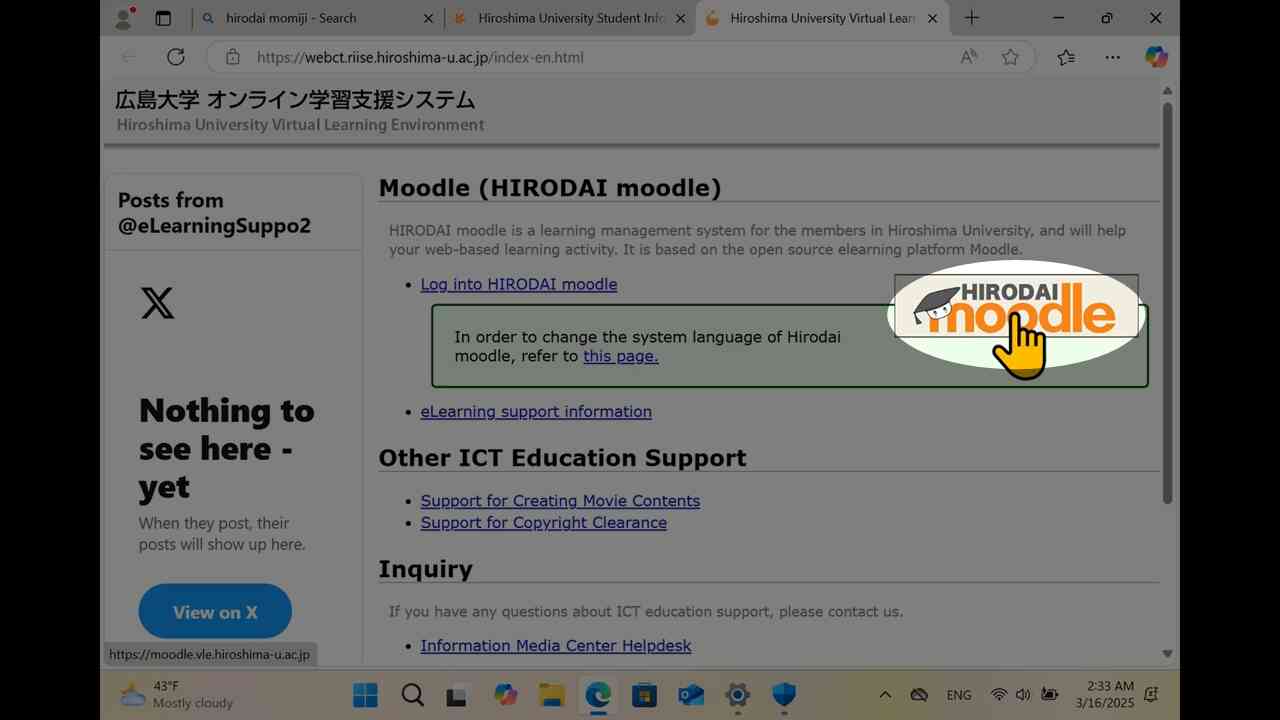
[5] You would launch an intermediate web page before Hirodai Moodle (this page is used for the announcement of the downtime etc). Click "Hirodai Moodle" icon.
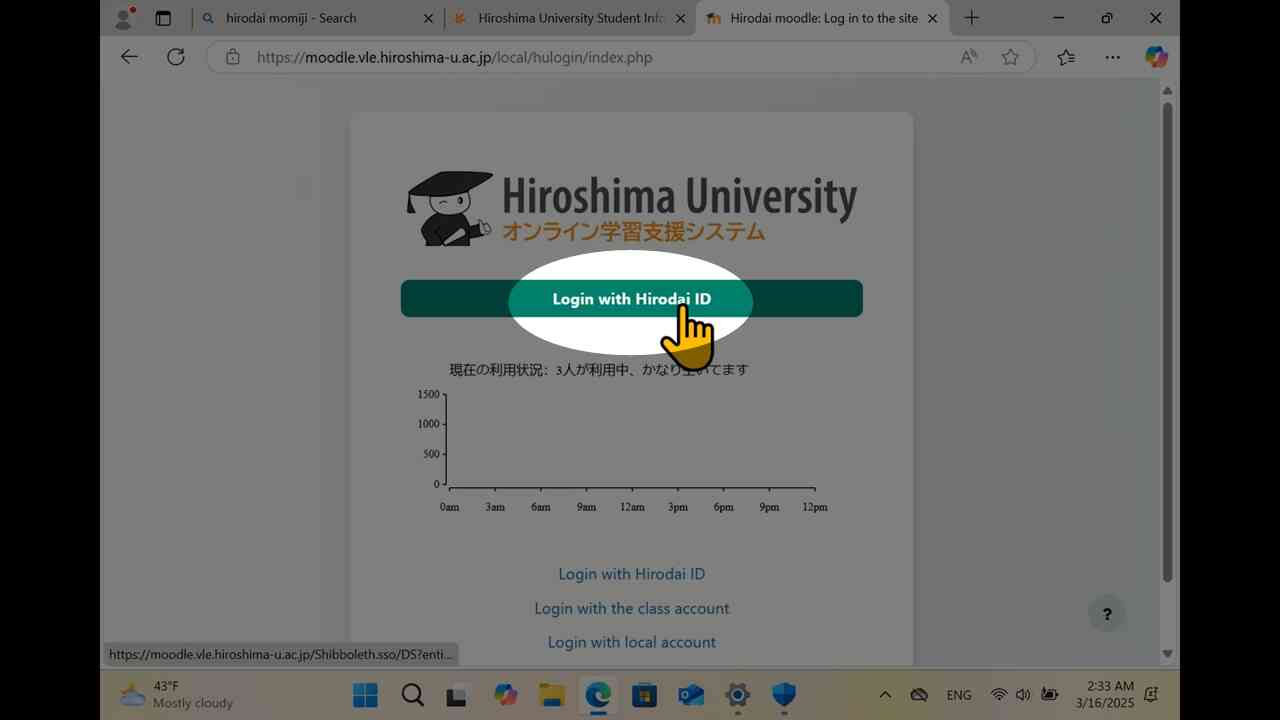
[6] Click "Login with Hirodai ID".
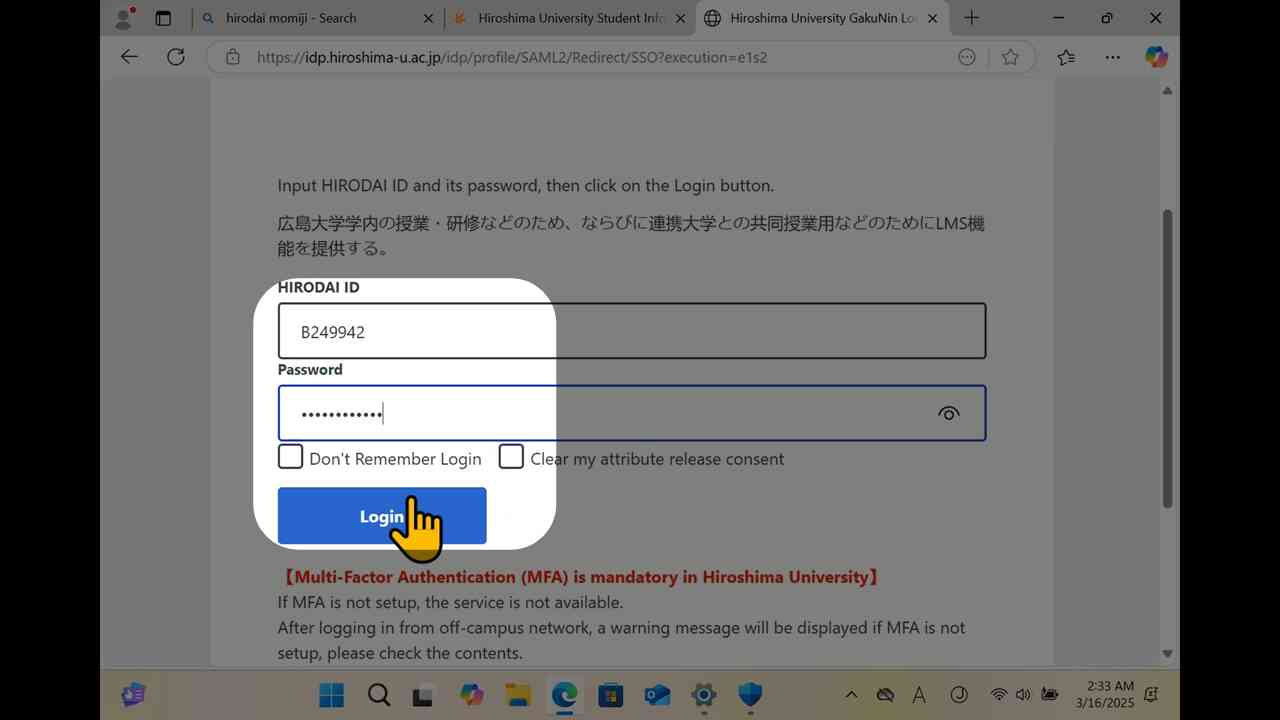
[7] Fill your student ID (starting with uppercase alphabet and followed by digits), and password, click "Login".
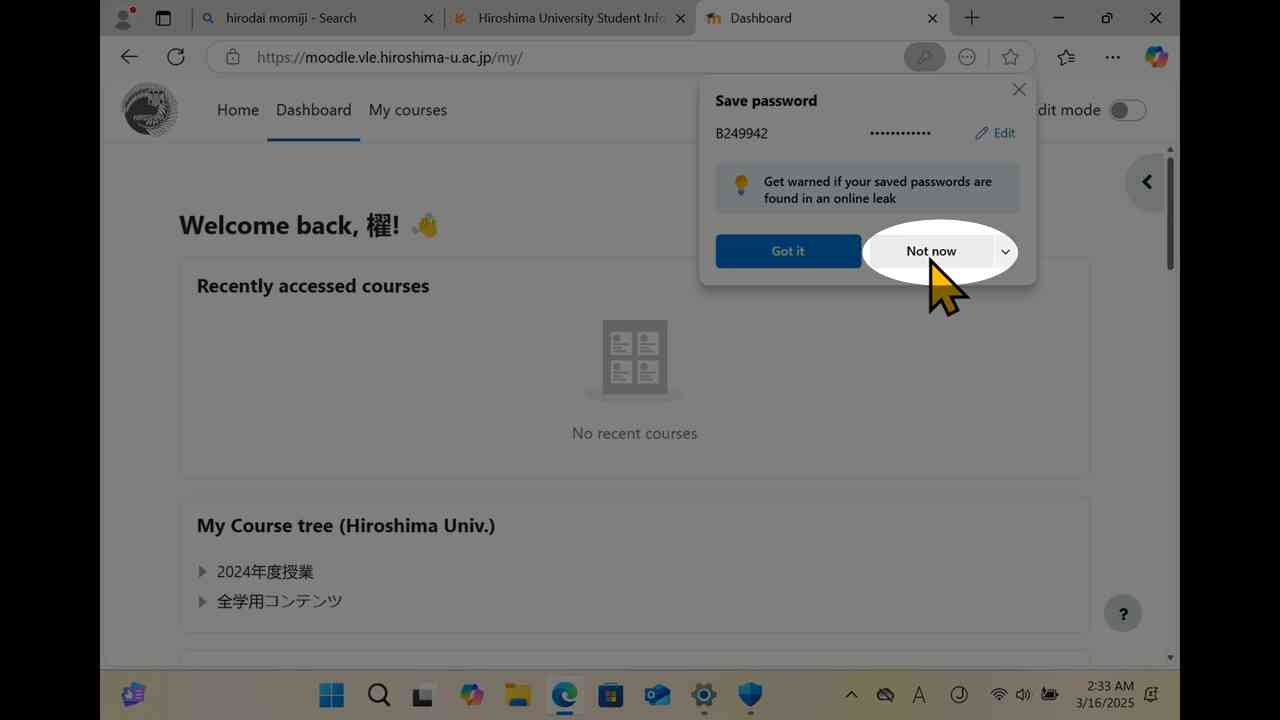
[8] Your web browsers suggests you to save your password, decline it.
[9] "Hirodai Moodle" is a website of online course system: distributes the materials for lectures, receives the submissions from students.
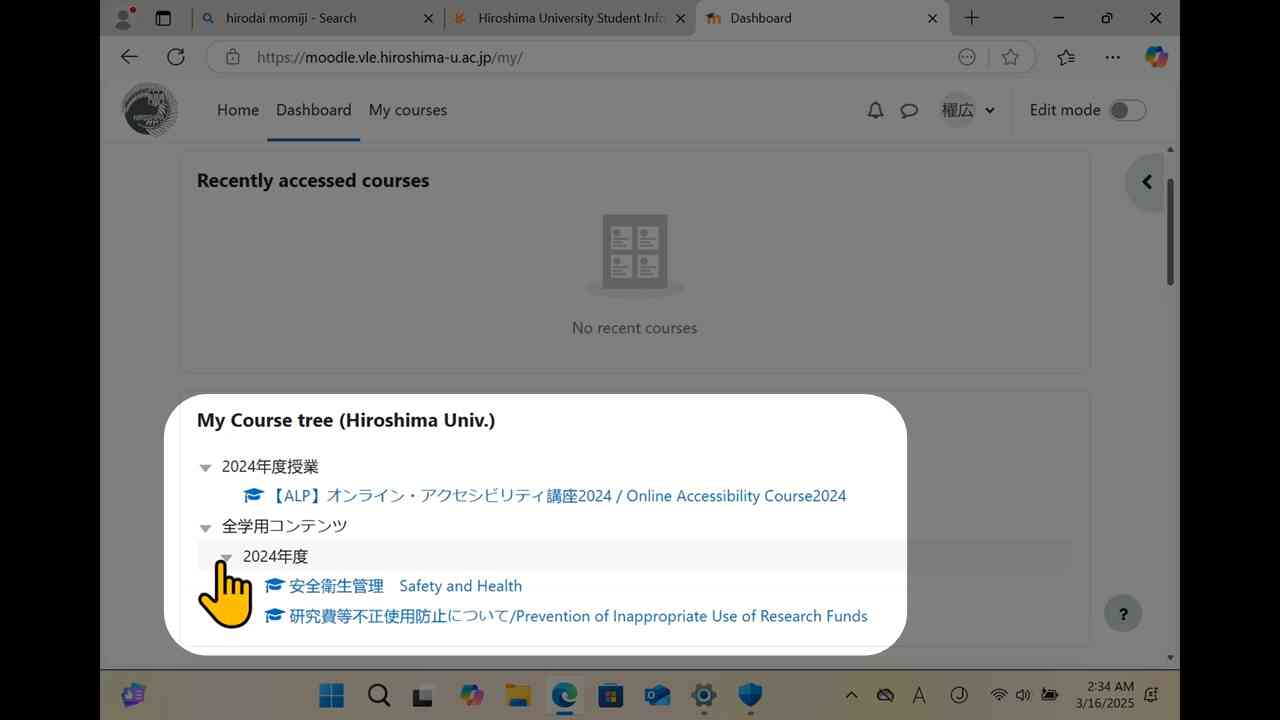
[10] If you expand your course, you would find Laptop PC Check List which ask you about the status of your PC. During this initialization or after the initialization, you should submit the check result.
My Momiji
[11] Back to "momiji" top page, and click "Login to My MOMIJI".
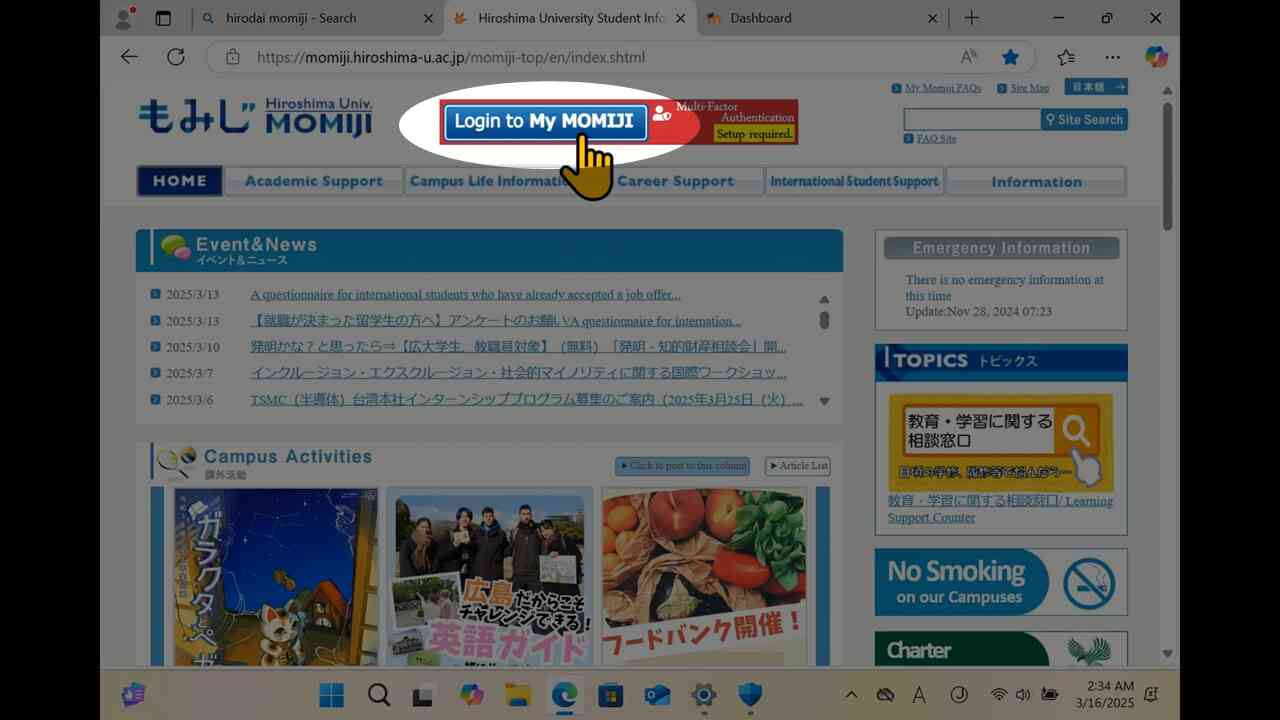
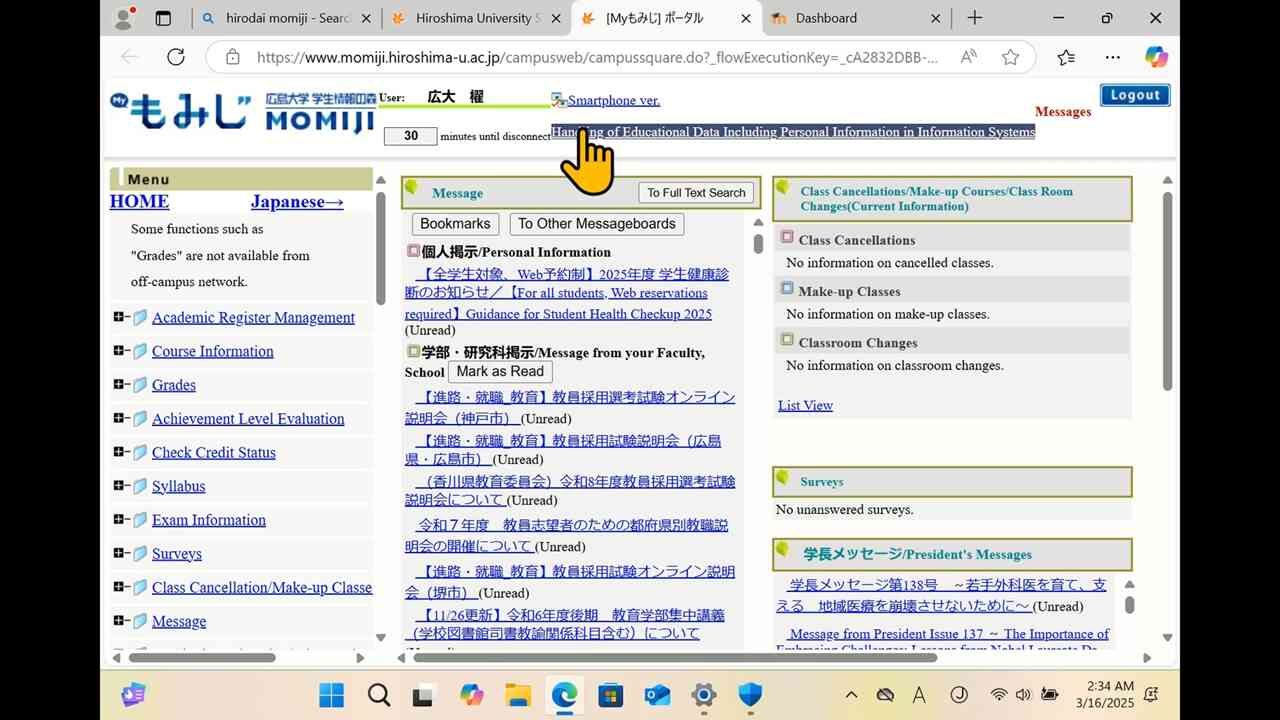
[12] If your session to Hirodai Moodle is cached, you would not be asked for Hirodai ID and password. "My Momiji" is a web site of the syllabus, registration of the lectures, and evaluations of the lectures. Laptop PC Check List would ask whether you could login the MyMomiji.check 7
Web Mail / Microsoft 365
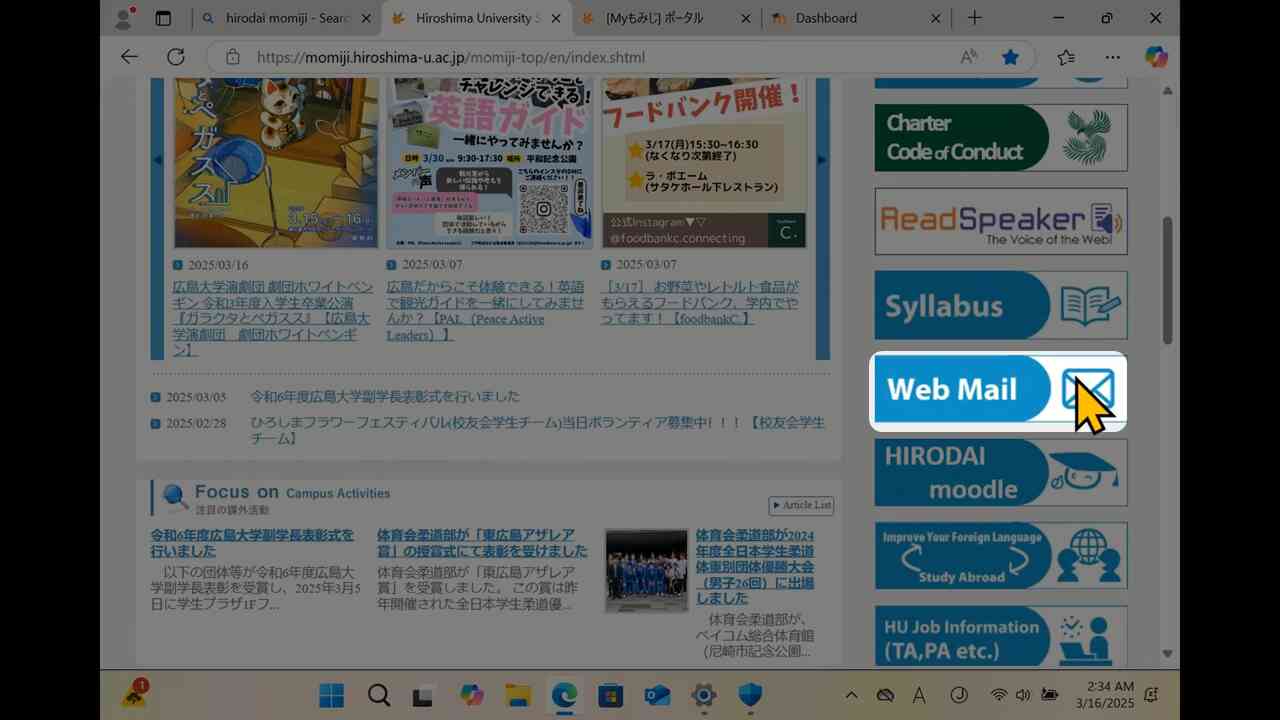
[13] Back to "momiji" top page, and click "Web Mail".
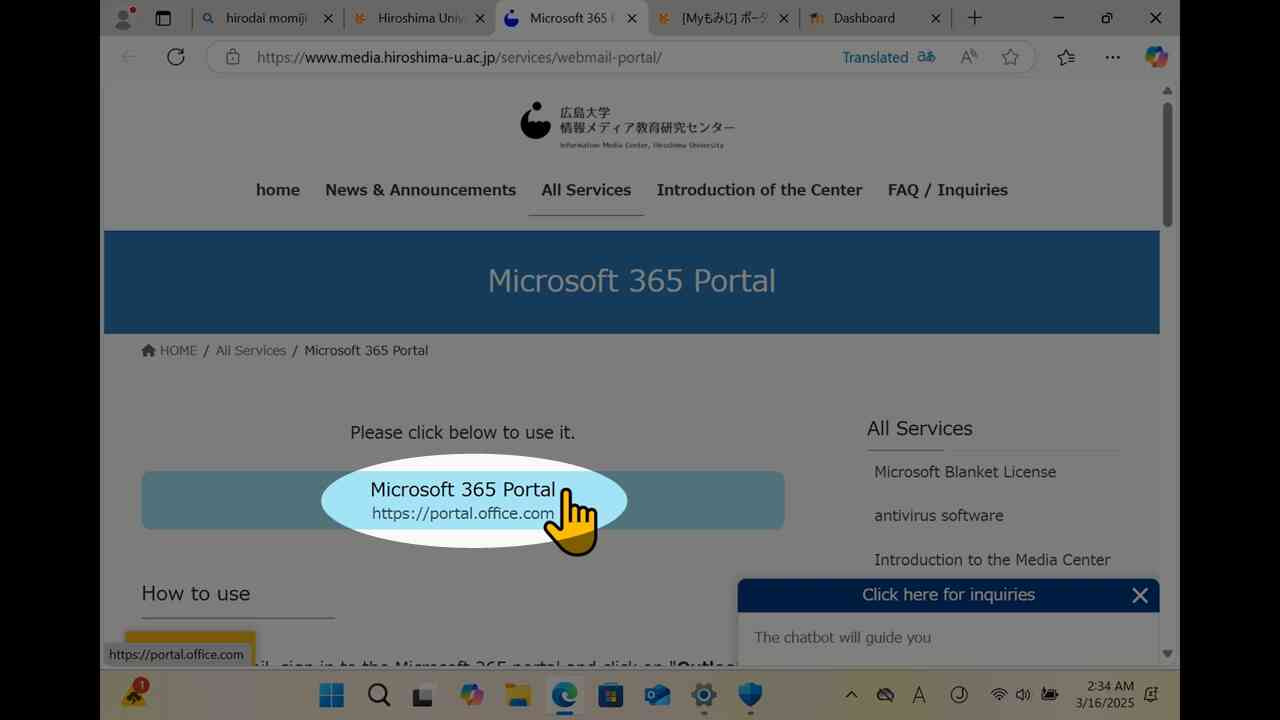
[14] It would guide you to a page titled "Microsoft 365 Portal". This is not "Microsoft 365 Portal" itself, it is a page describing about "Microsoft 365 Portal". Click "Microsoft 365 Portal" button on it.
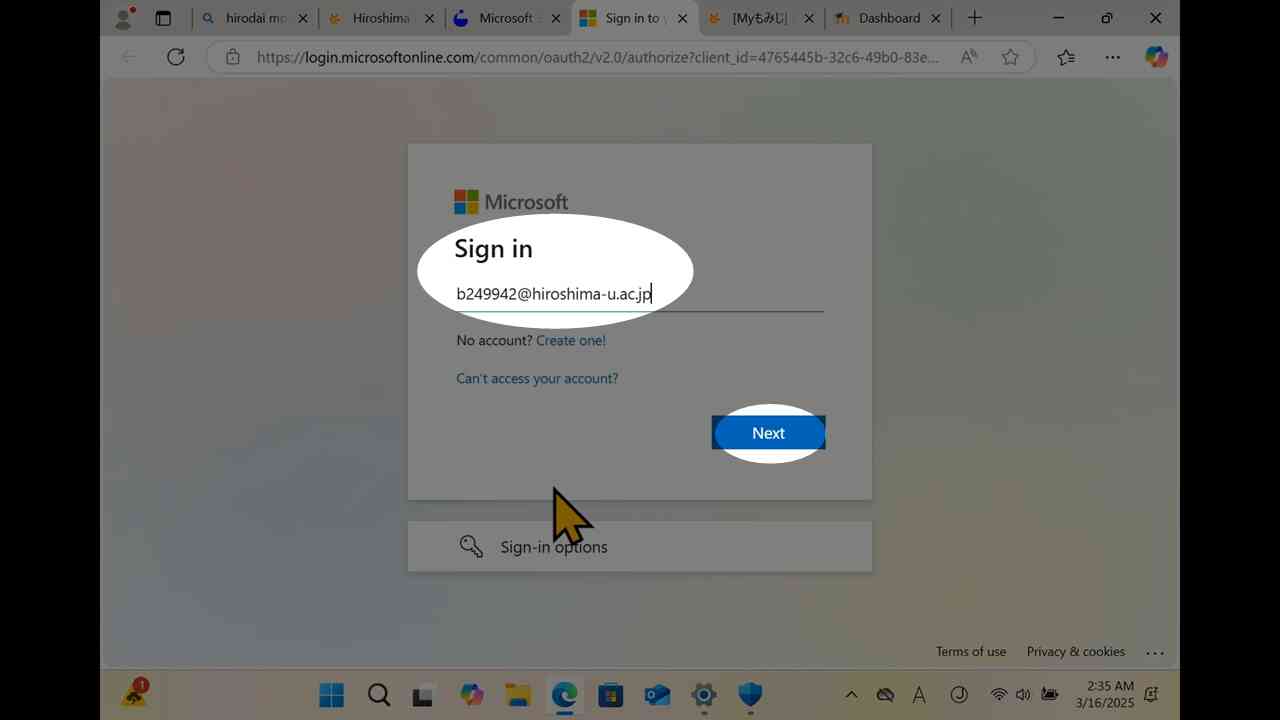
[15] Fill your IMC account, starting with lowecase alphabet and followed by digits, plus "@hiroshima-u.ac.jp".
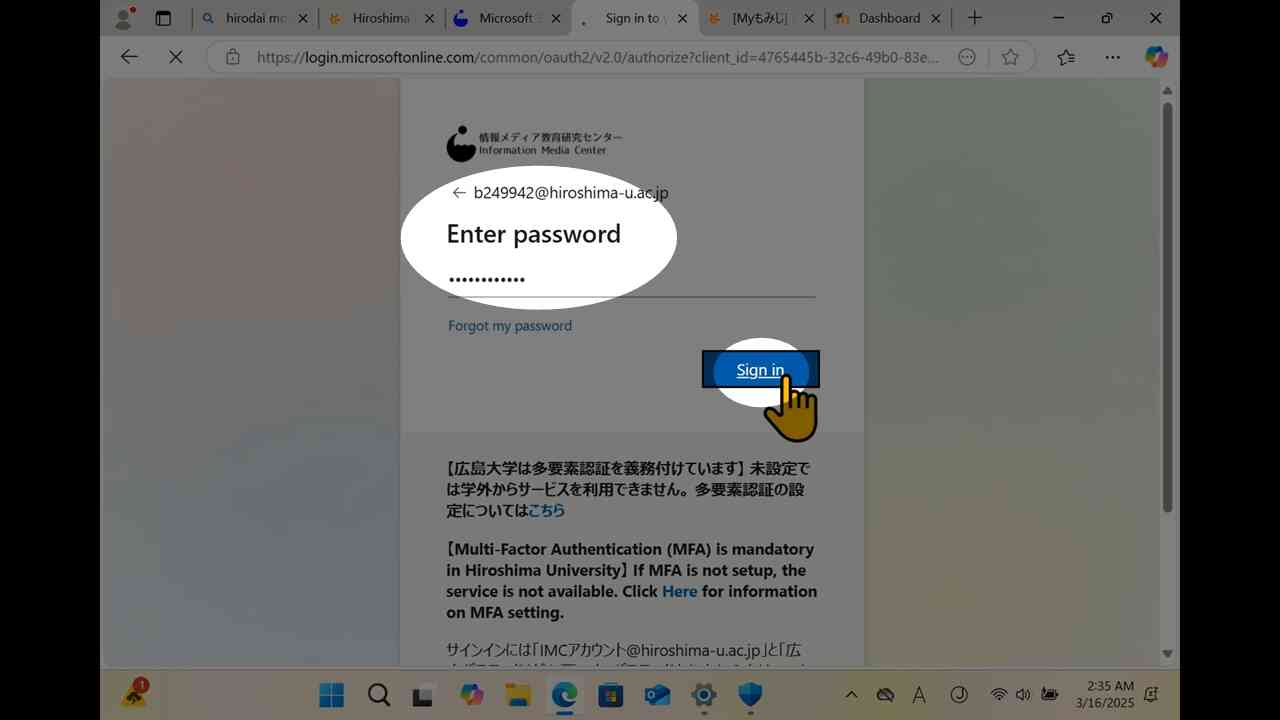
[16] Fill your password.
[17] Your web browsers suggests you to save your password, decline it.
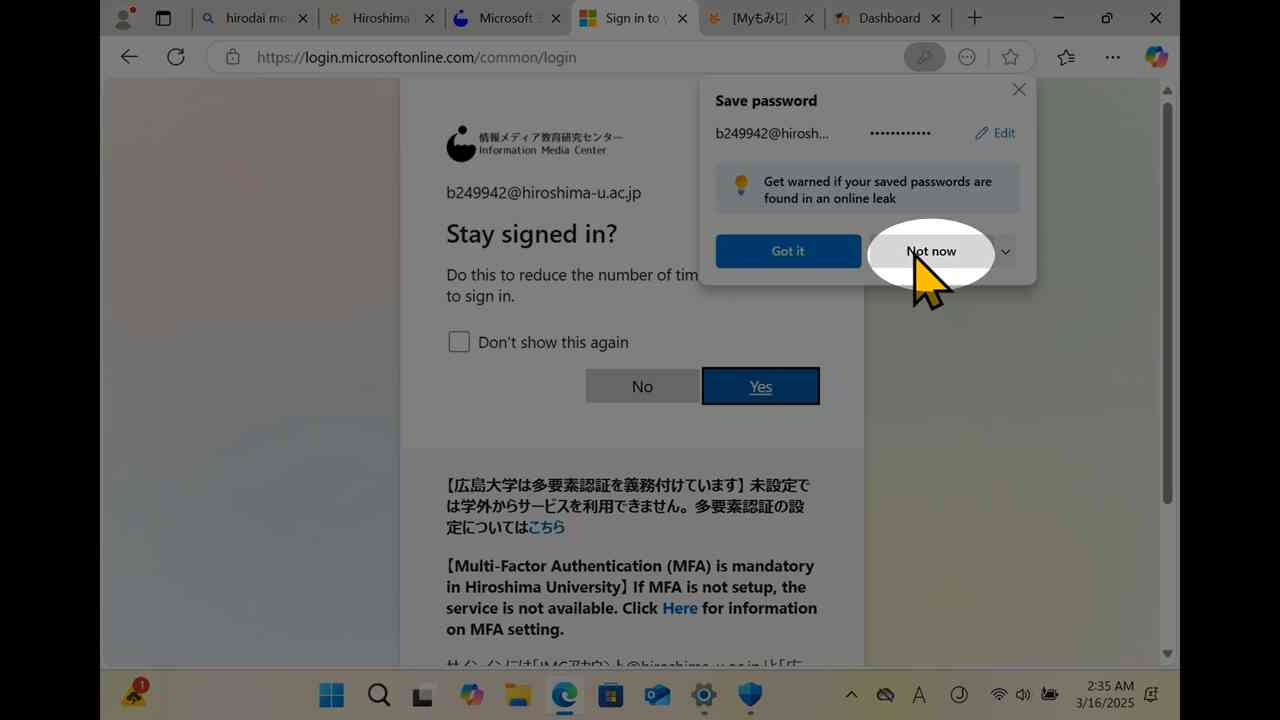
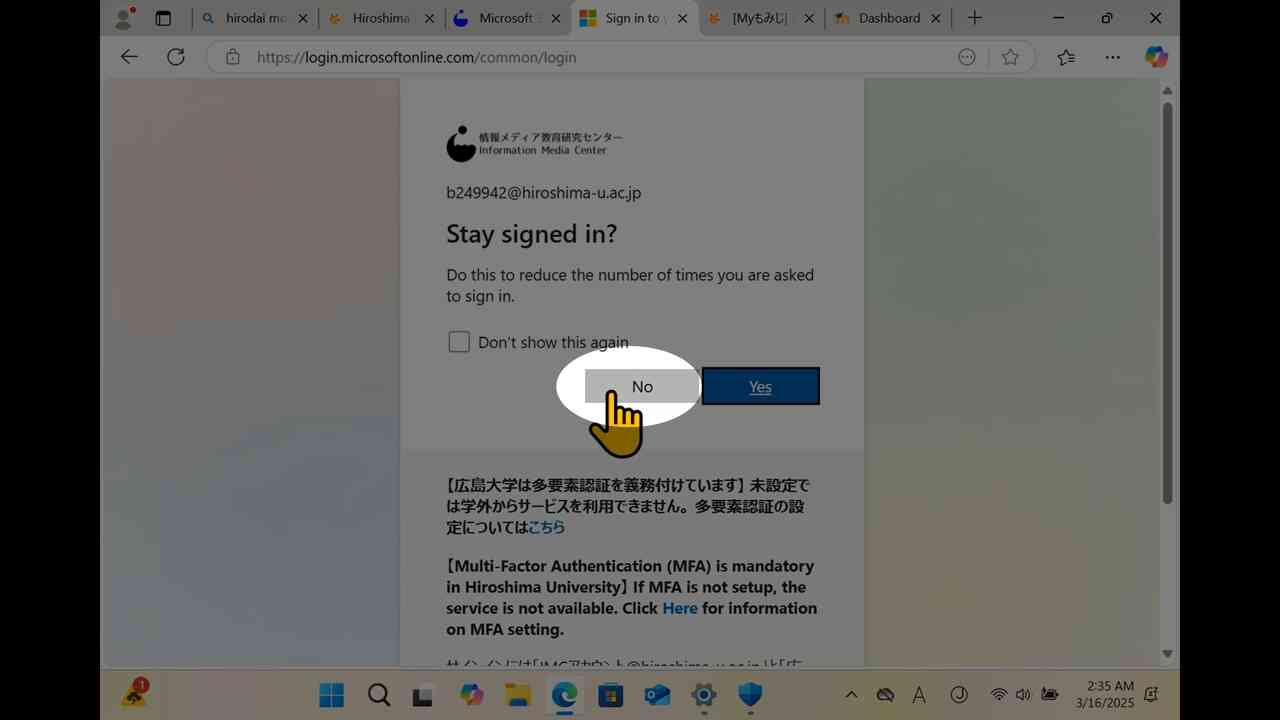
[18] "Stay signed in" should be declined either.
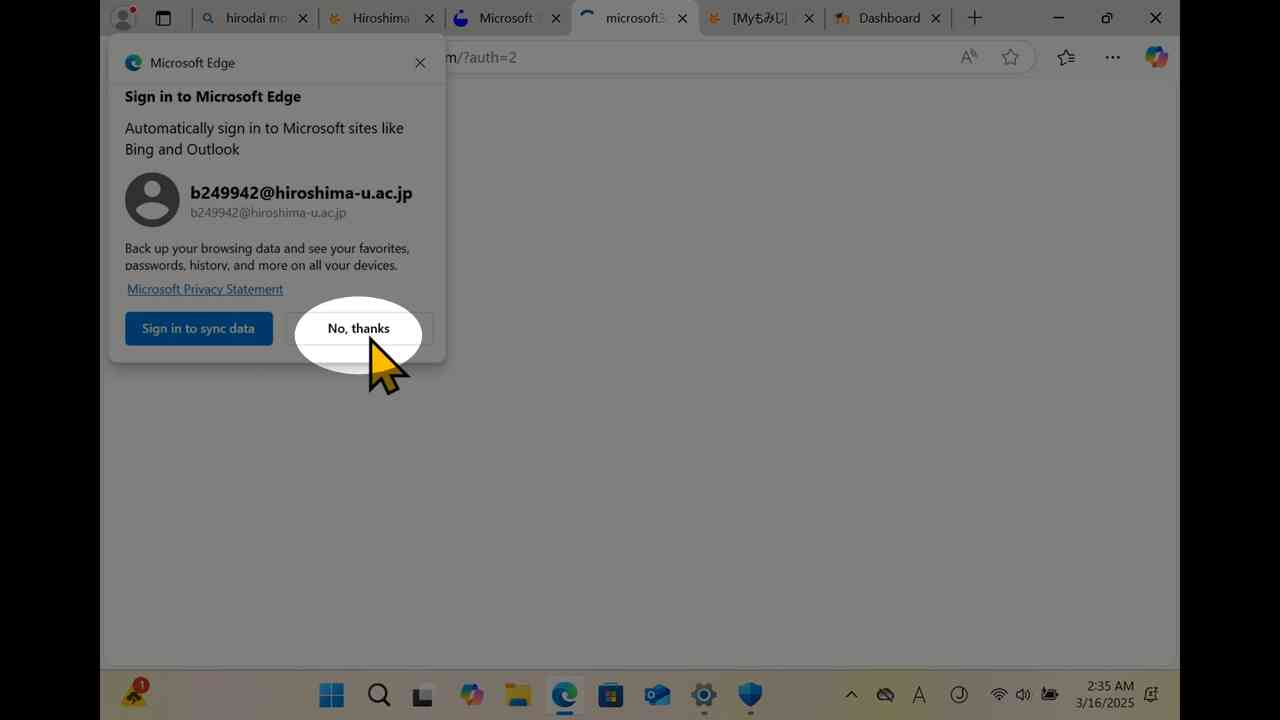
[19] "Sign in to Microsoft Edge" should be declined either.
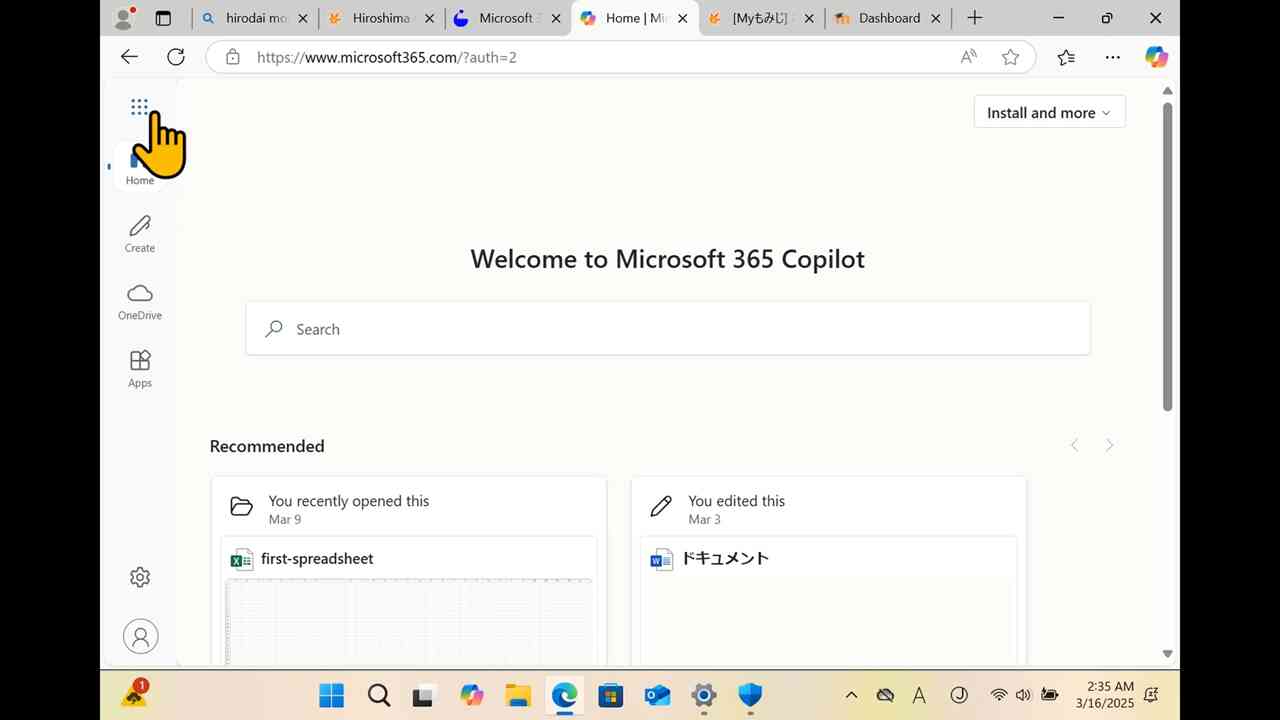
[20] You launched Microsoft 365 web page. Expand the 3x3 dots menu on the upper left corner.
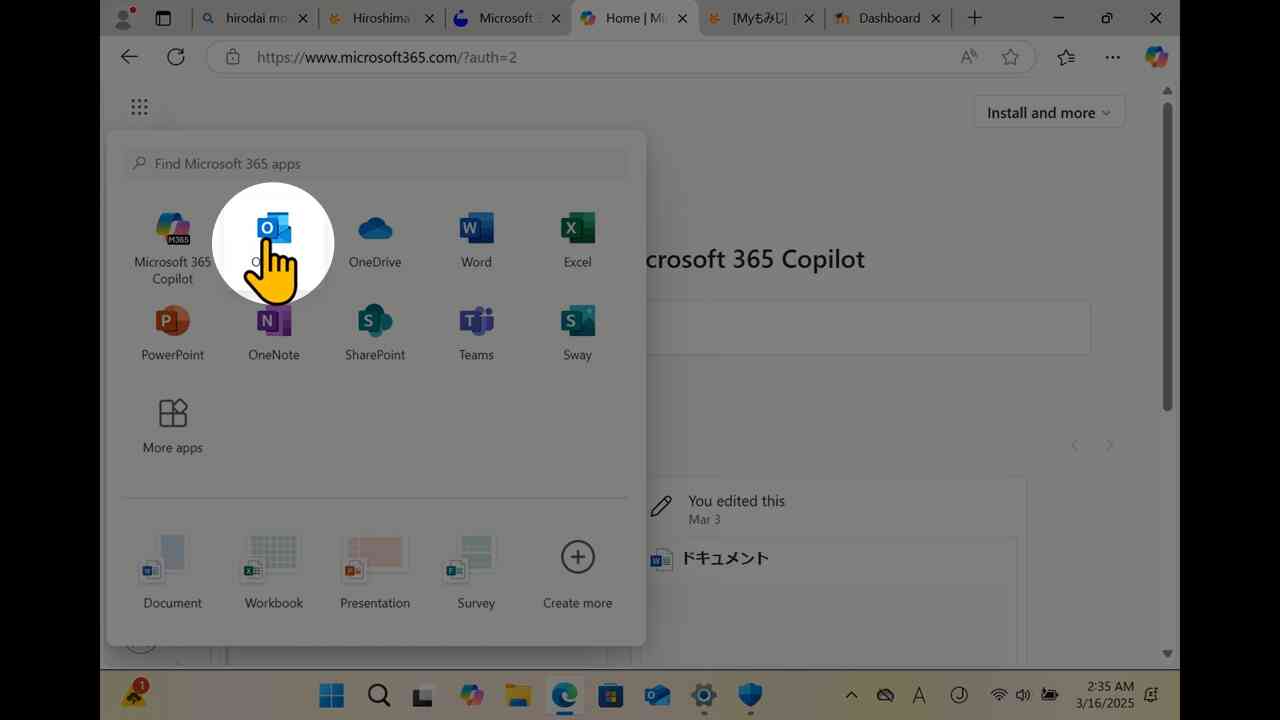
[21] In the submenu expanded by 3x3 dots menu (1), you can find "Outlook" icon (2) in submenu.

[22] Click "Outlook" icon.
[23] Your mailbox would be shown. The mail contacts from university office would come to this mailbox. Laptop PC Check List would ask whether you could login Microsoft 365.
check 8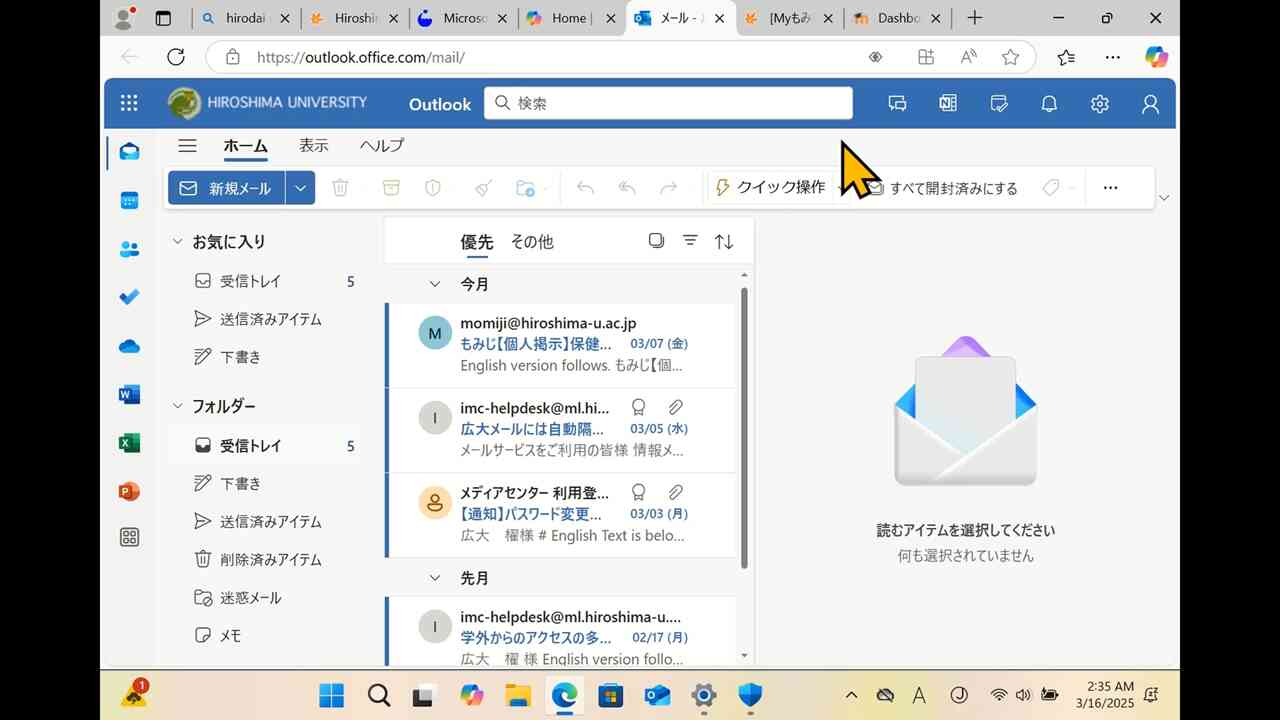
Install Microsoft Office
[24] Back to the desktop, and open Start menu.
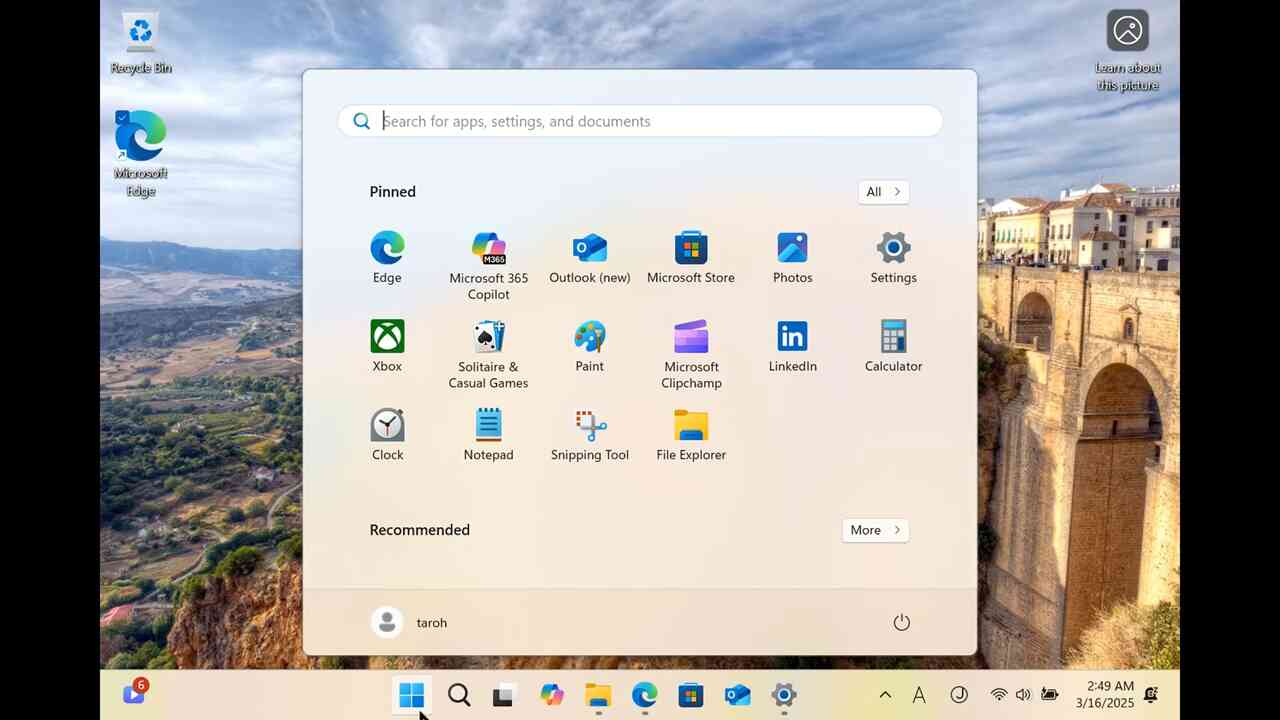
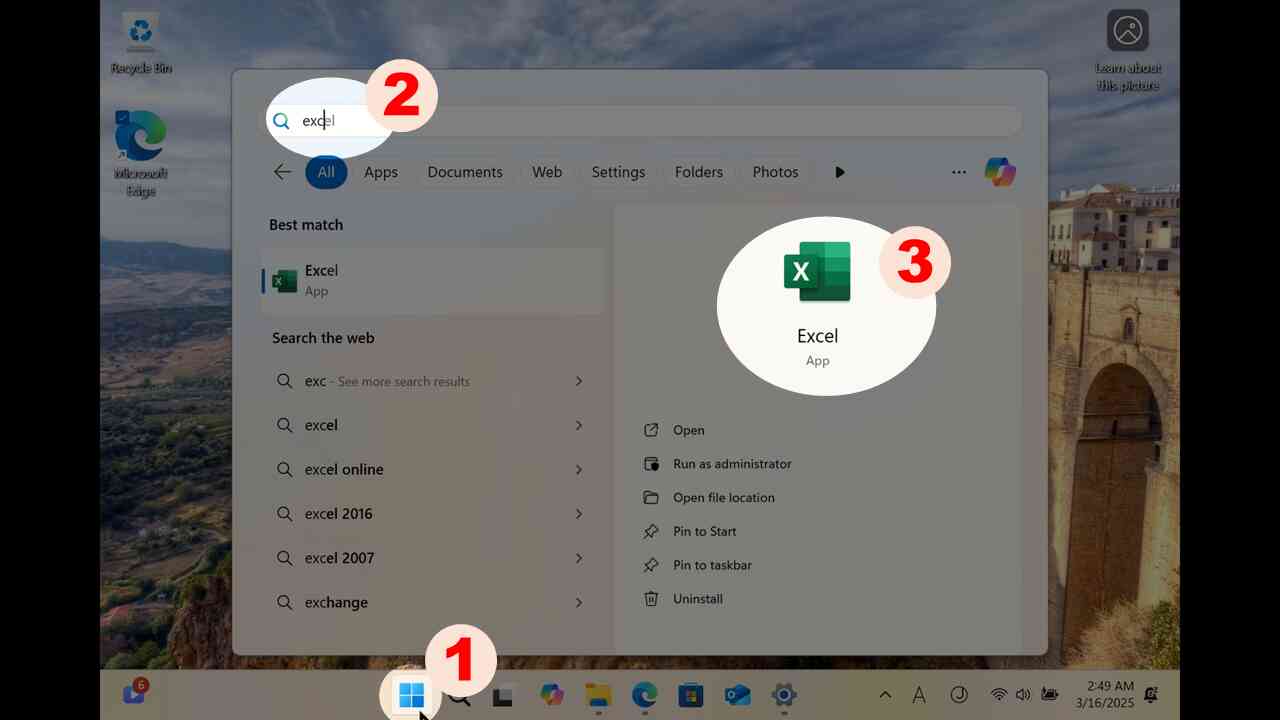
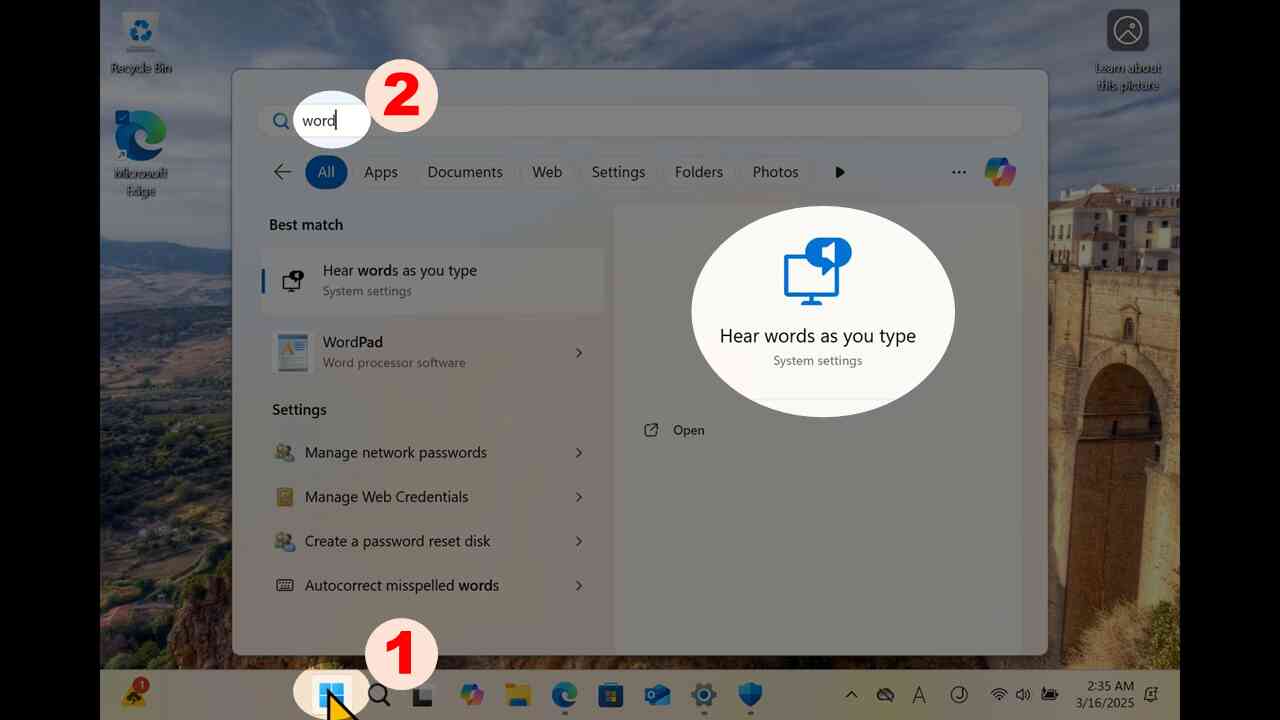
[25] Expanding Start menu (1), search "excel" or "word" or "powerpoint" in Start menu panel (2). If such Microsoft Office applications are already installed, some App would be returned (3). If you find them, proceed to the next chapter.
[26] If they are not installed, no App would be displayed. If Microsoft Office is not found, install it in below.
[27] Open "Microsoft 365" of your account.
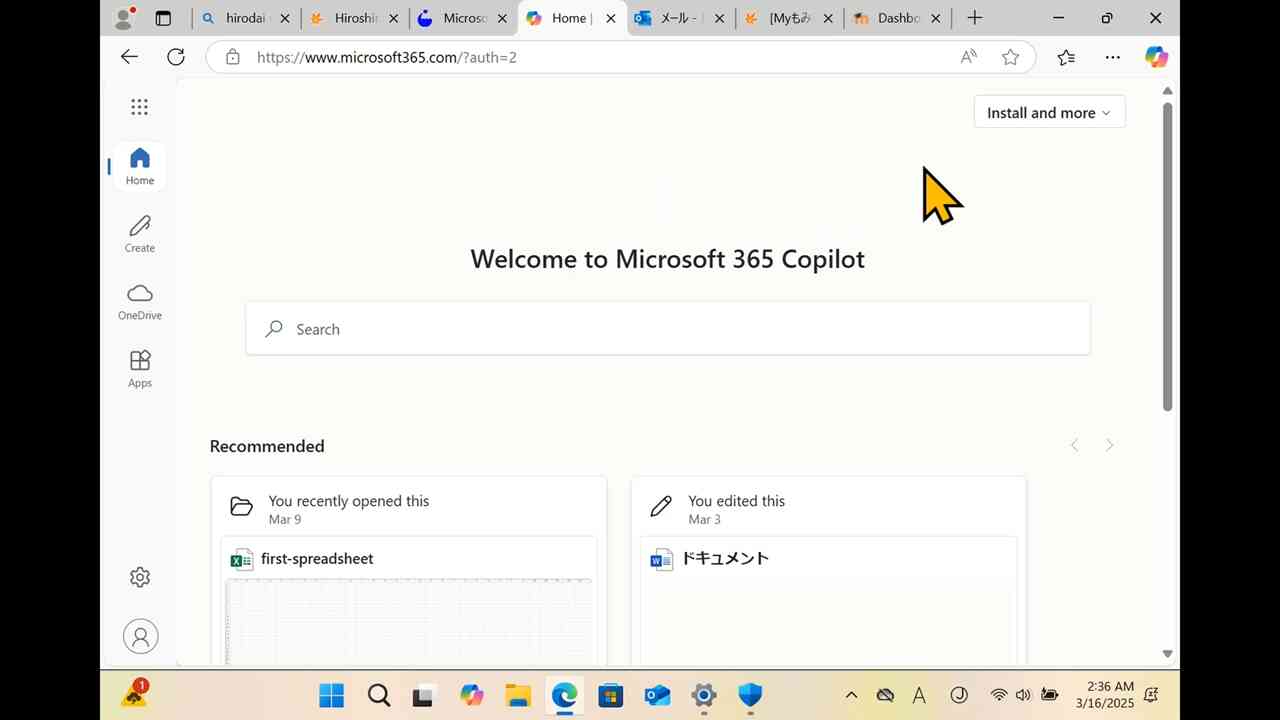
[28] You would find "Install and more" at the upper right area.
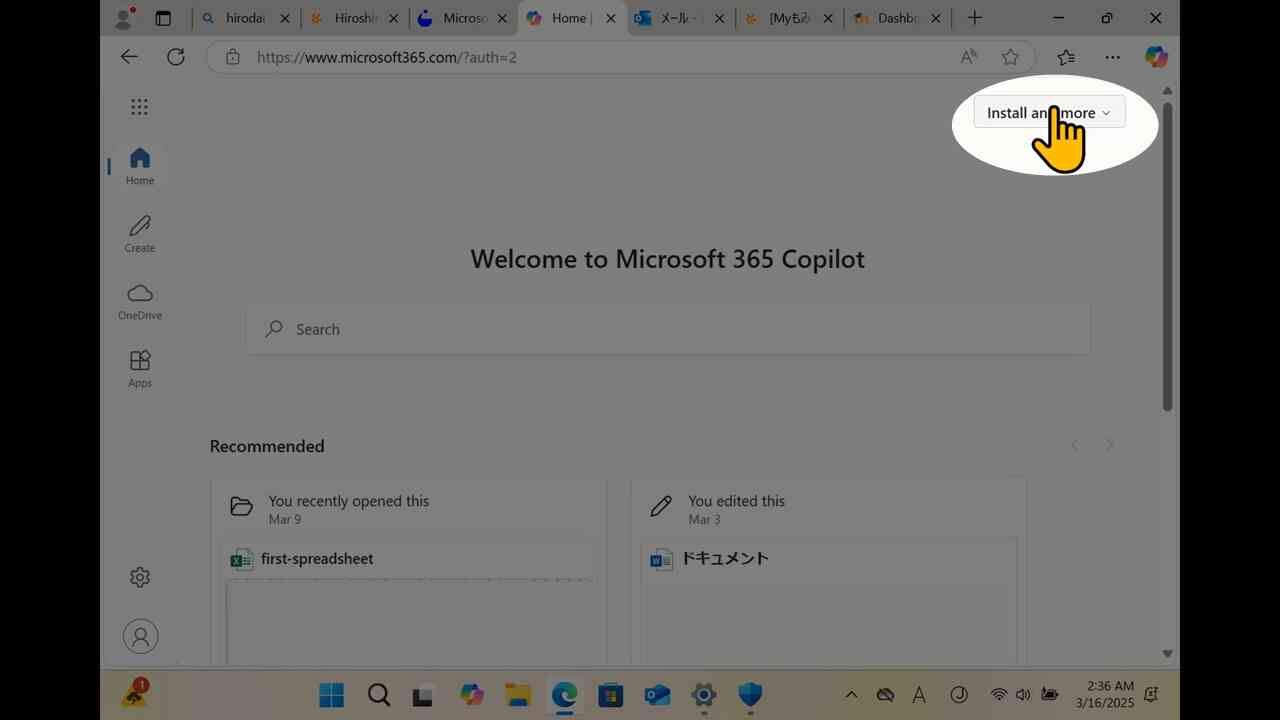
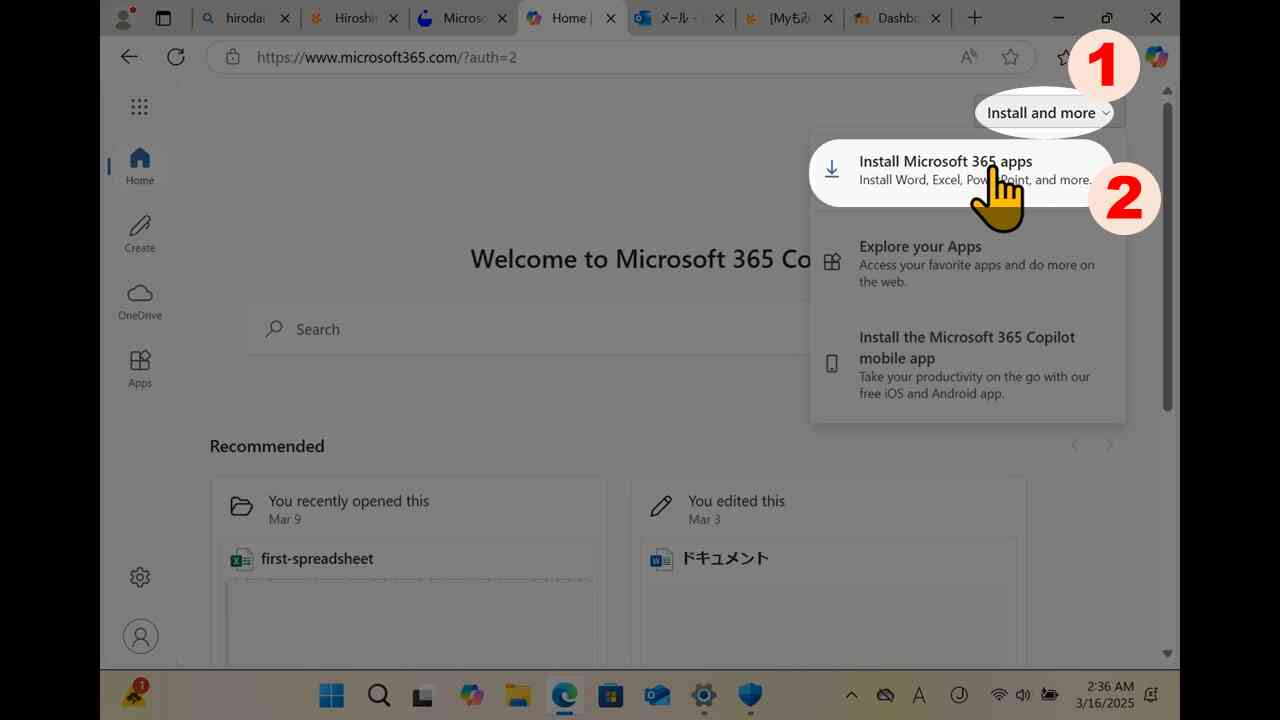
[29] Click "Install and more" (1) and proceed "Install Microsoft 365 apps" (2).
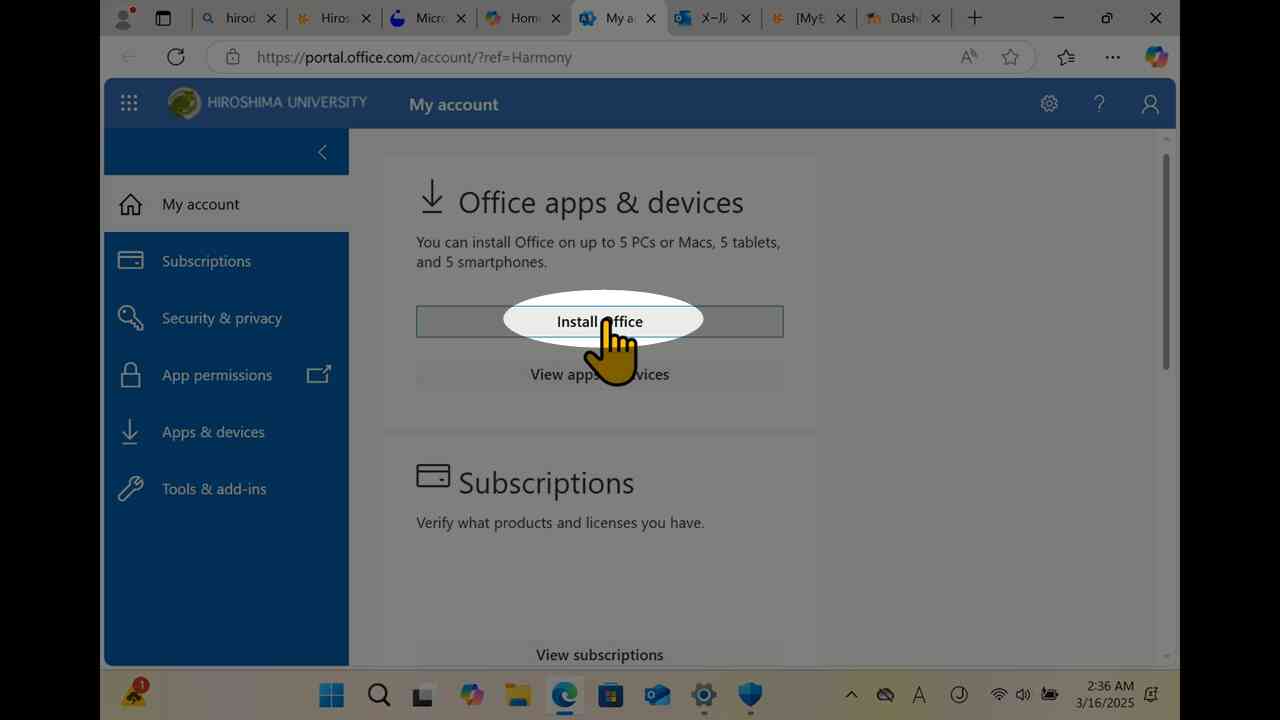
[30] Click "Install Office" under "Office apps & devices".
[31] The installer would be downloaded.
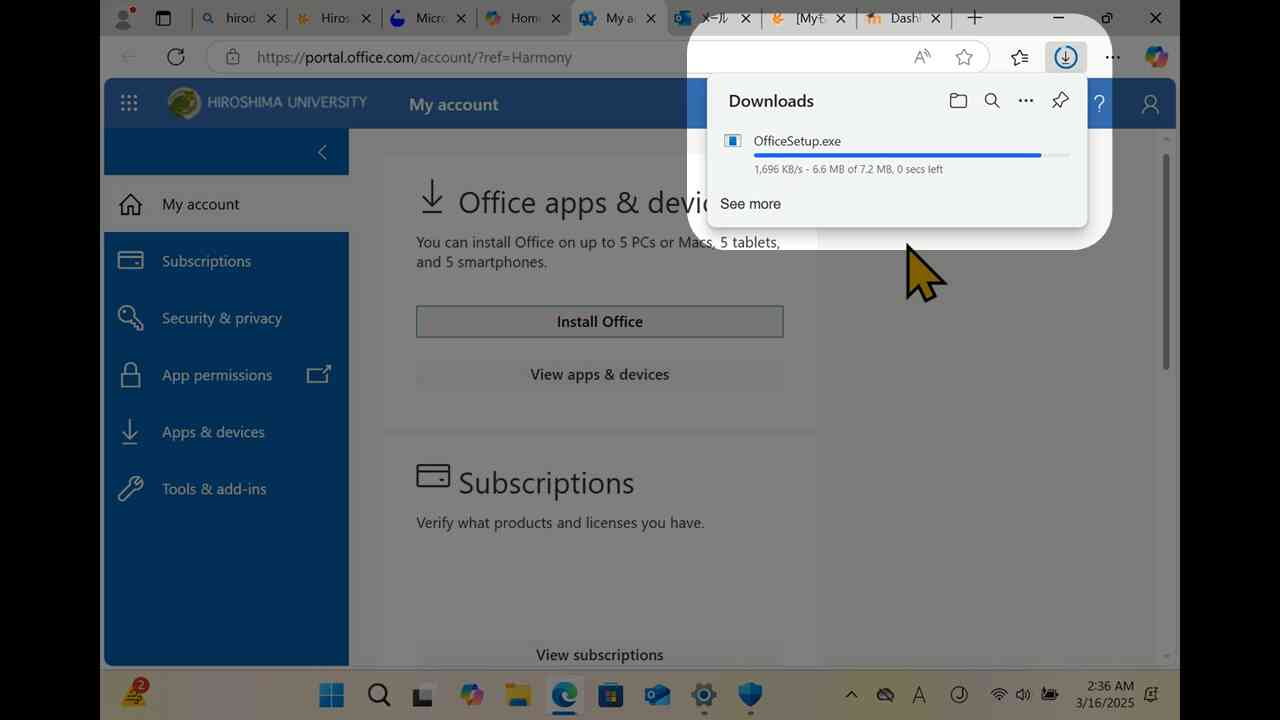
[32] Click "…" of the web browser (1) to expand its submenu (2).

[33] Proceed to "Downloads".
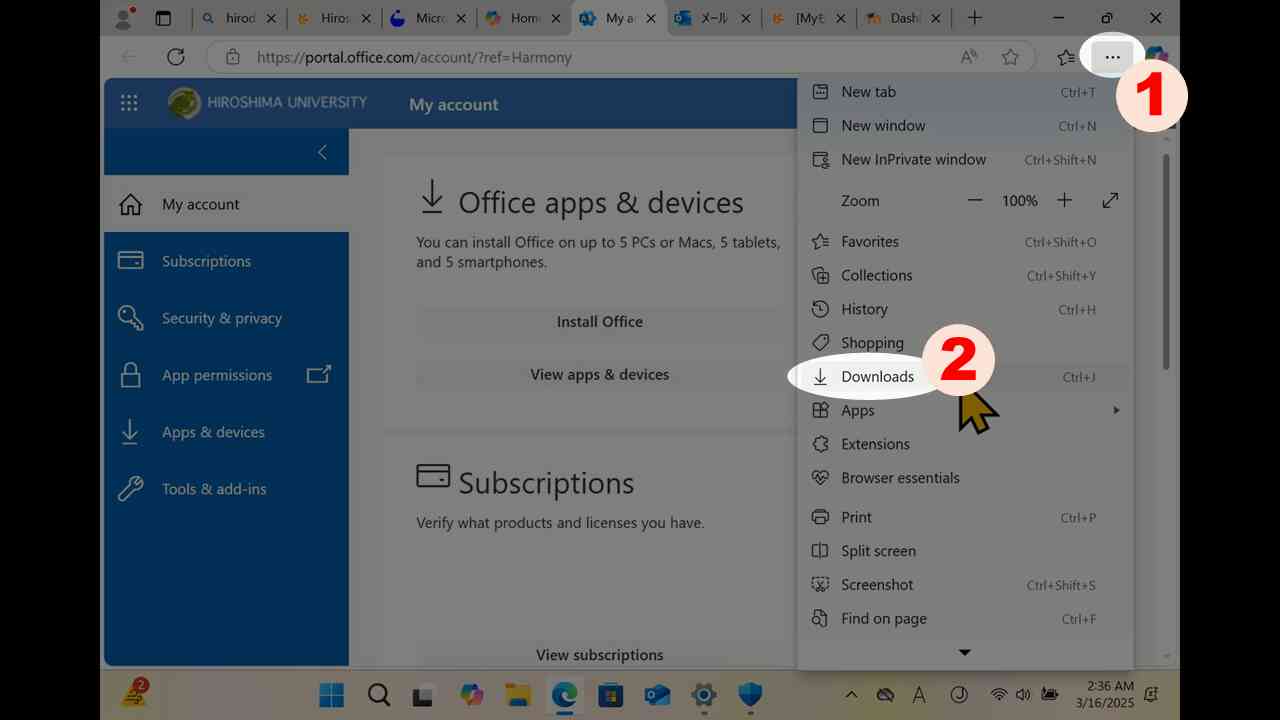
[34] The list of downloaded items would be displayed. Click "folder" icon of the office installer.
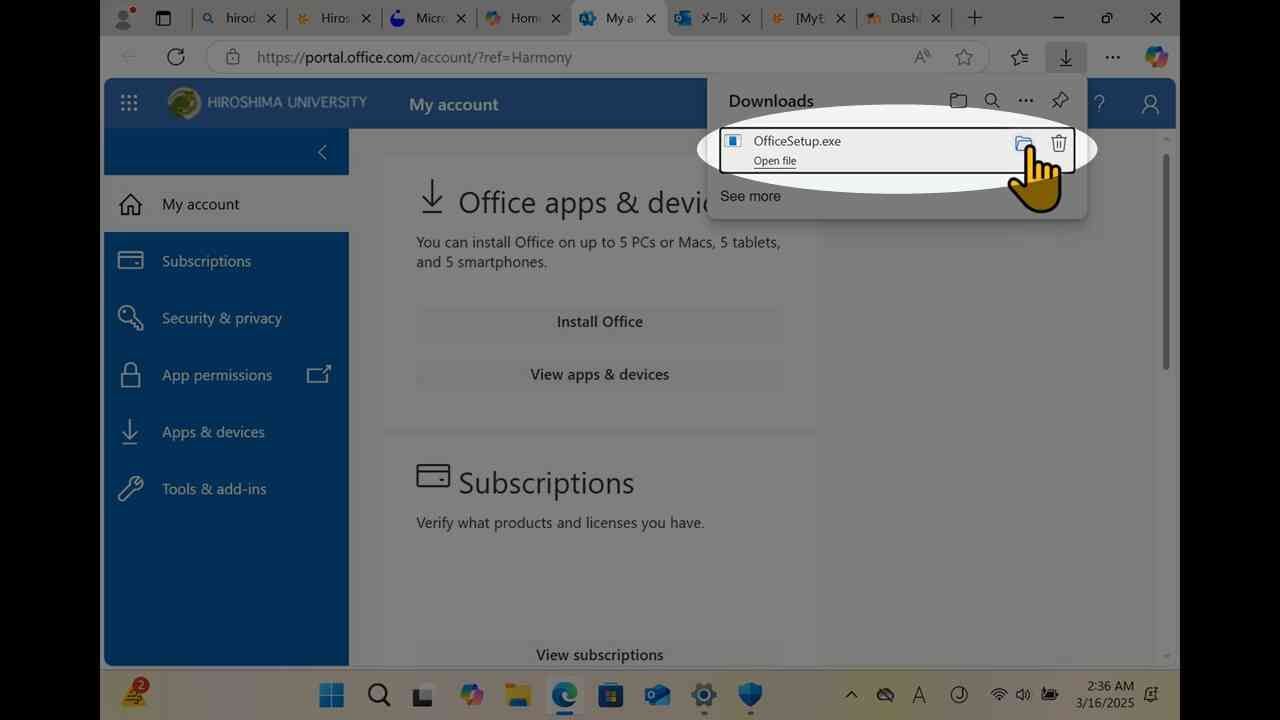
[35] A window for downloaded items folder would be displayed.
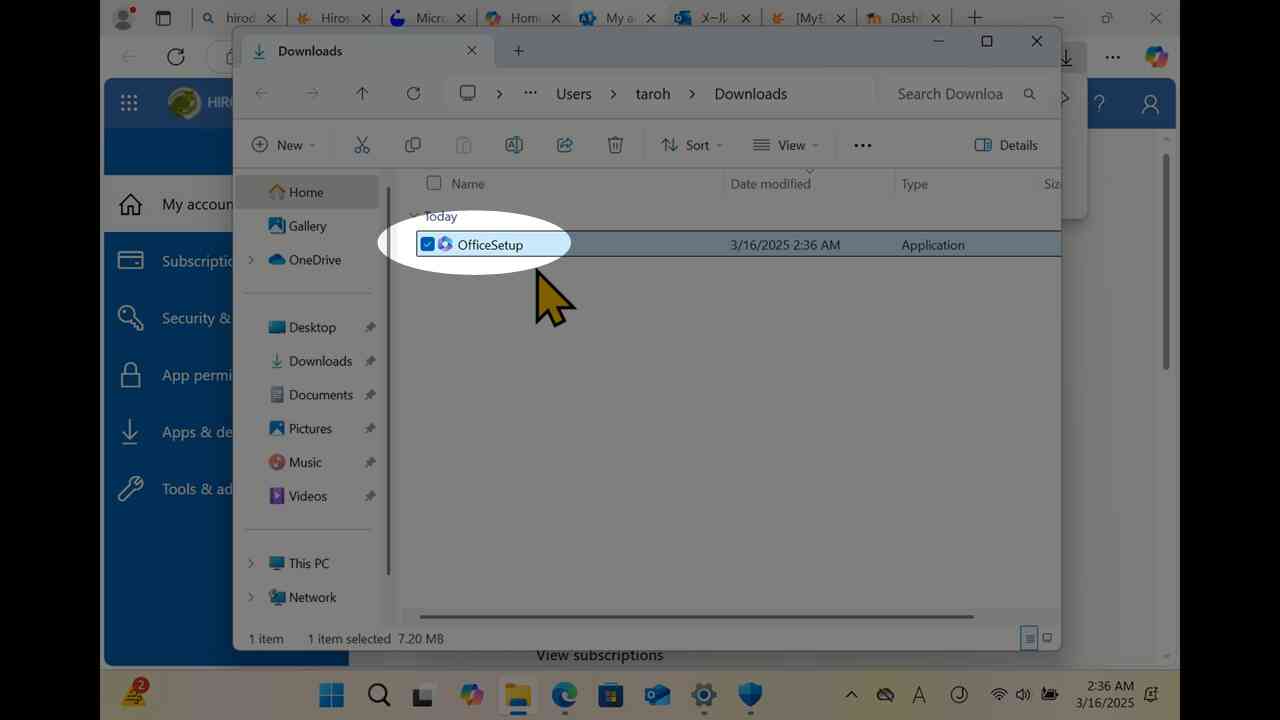
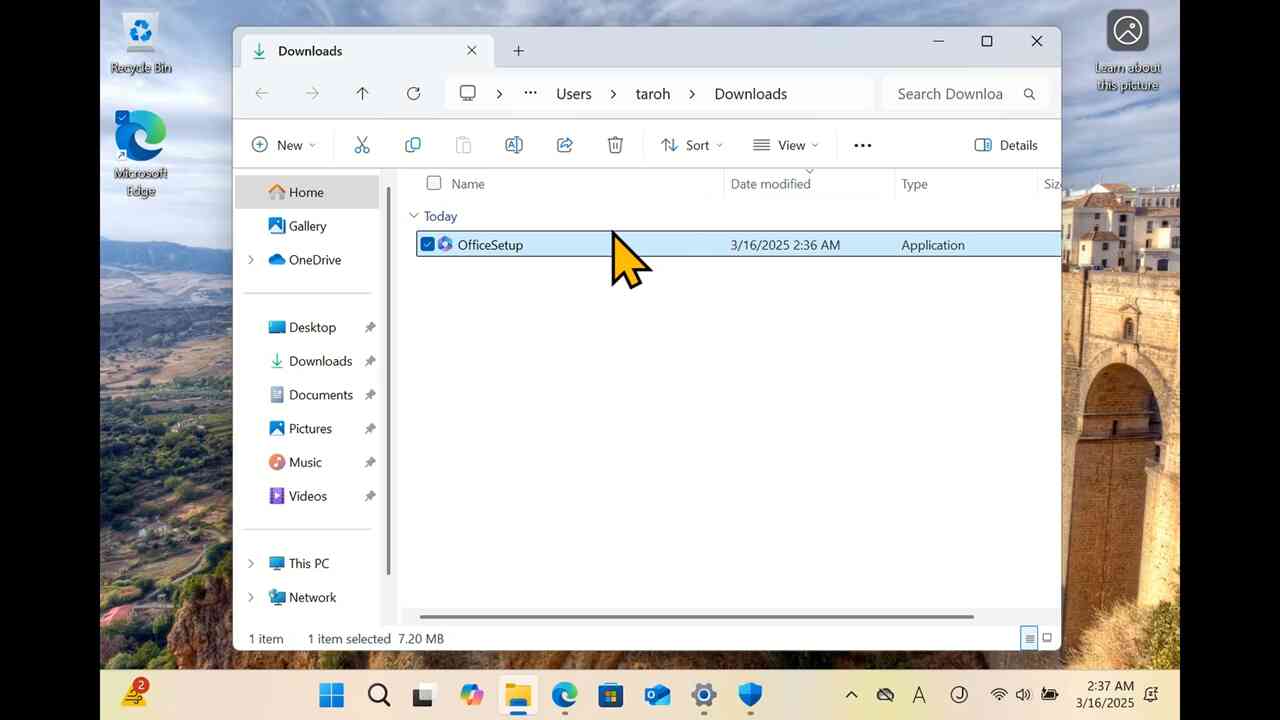
[36] Close (or minimize) other window, and start the installer by double-click.
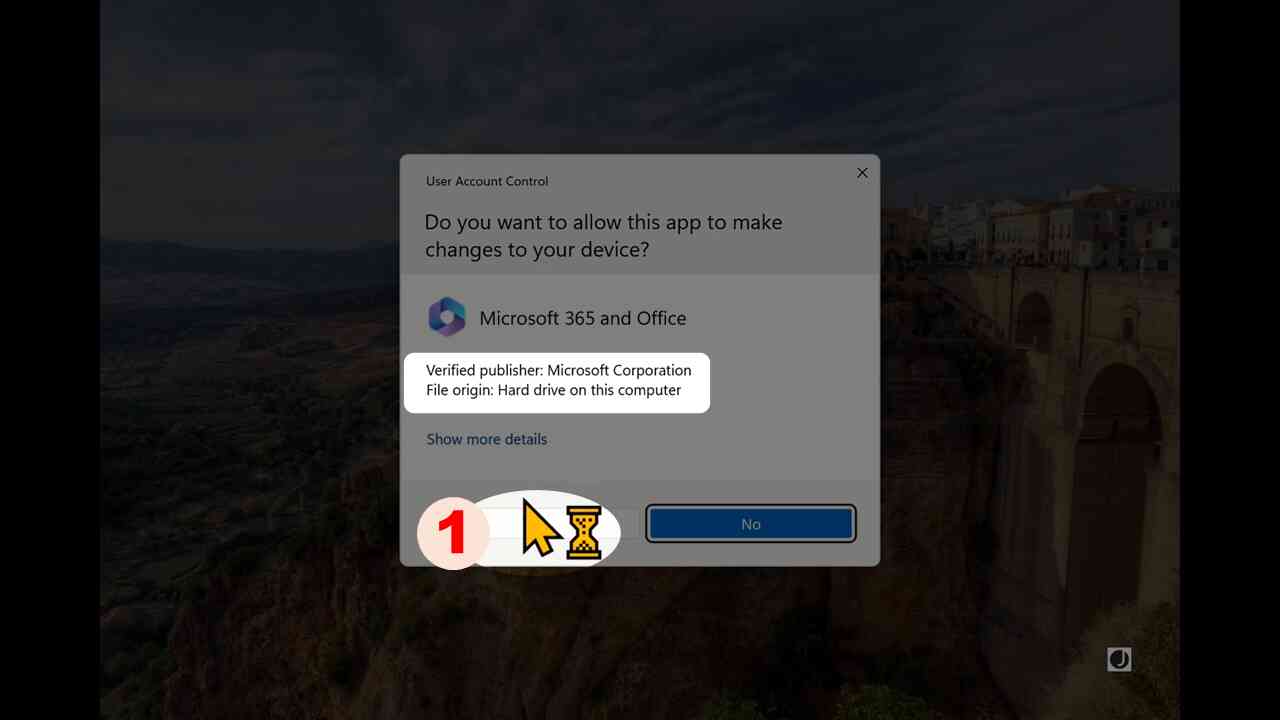
[37] After the confirmation that the publisher of this app is Microsoft, allow "Do you want to allow this app…" by "Yes".
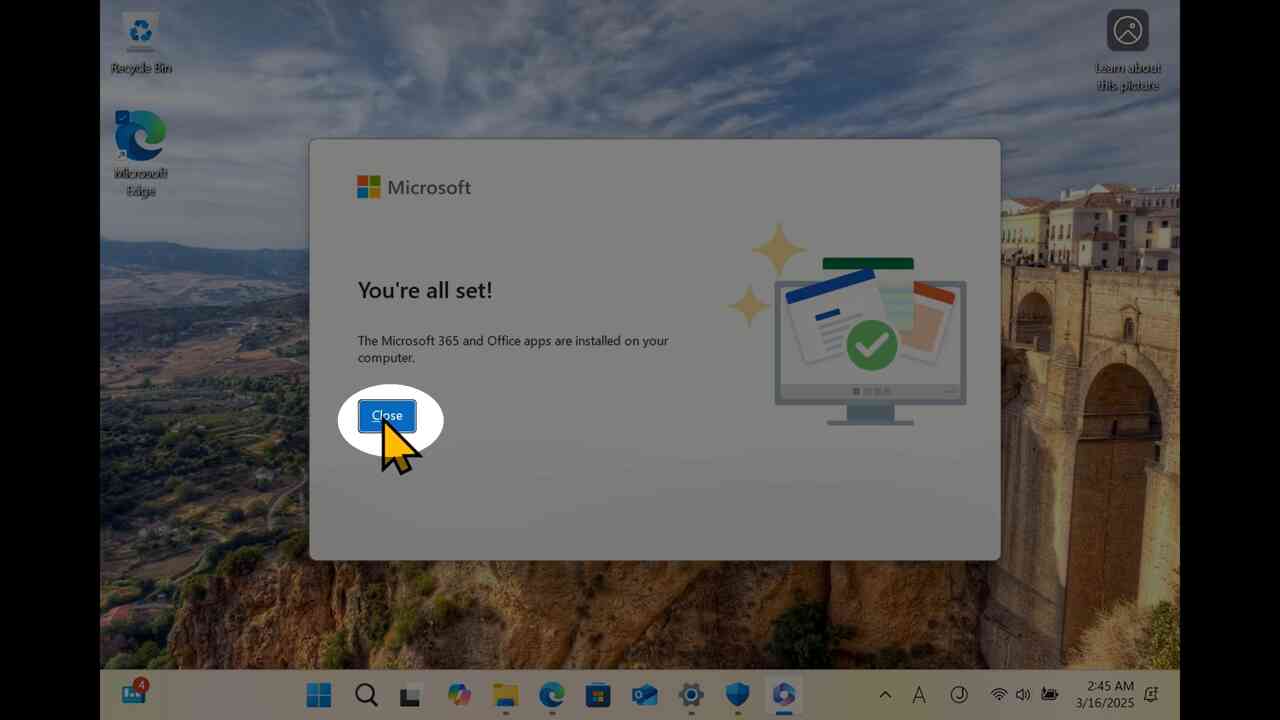
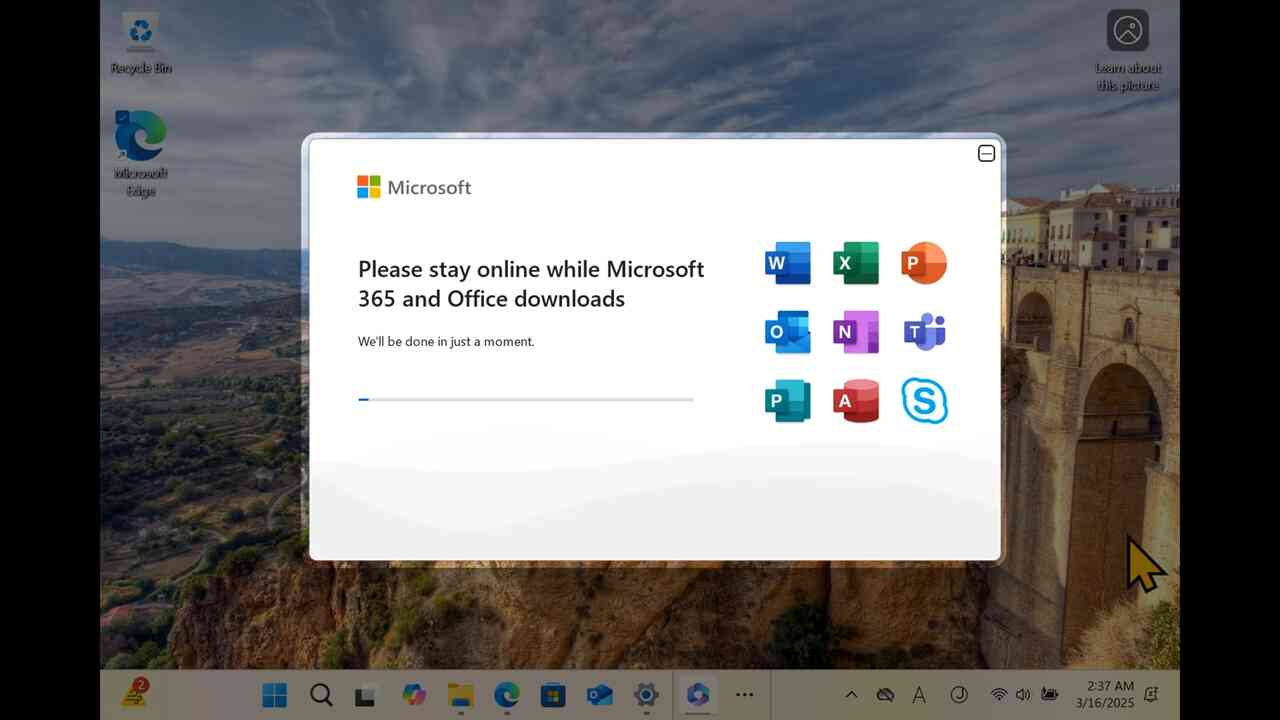
[38] The installer starts and download the applications.
[39] Click "Close" to finish the installation