[1] This chapter describes how to configure your PC to connect to the campus network "HU-CUP", and configure the multi-factor authentication. If you initialize your PC in the campus, the configuration for HU-CUP would be already done, proceed to the MFA settings.
[2] This is a movie of the procedure described in this chapter.
Configure your PC to connect to the campus network "HU-CUP" automatically.
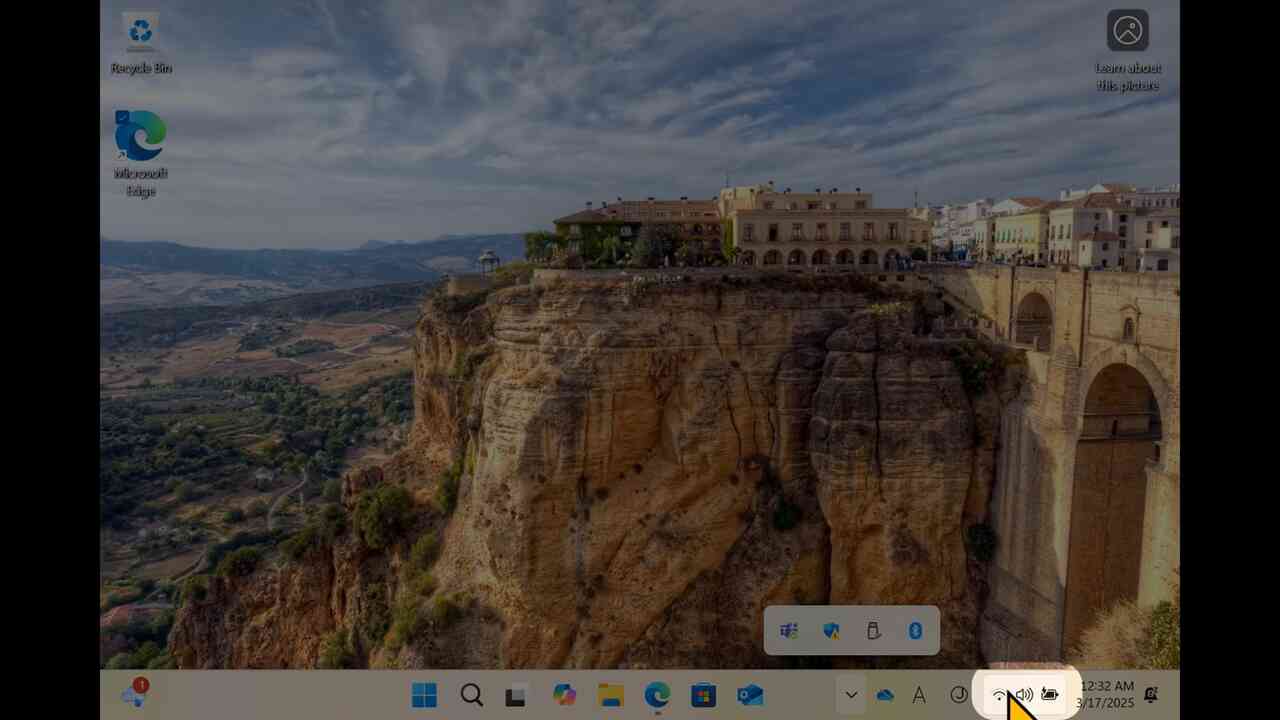
[3] Click the "radiowave" icon on the taskbar.
[4] Confirm the "radiowave" icon is active.
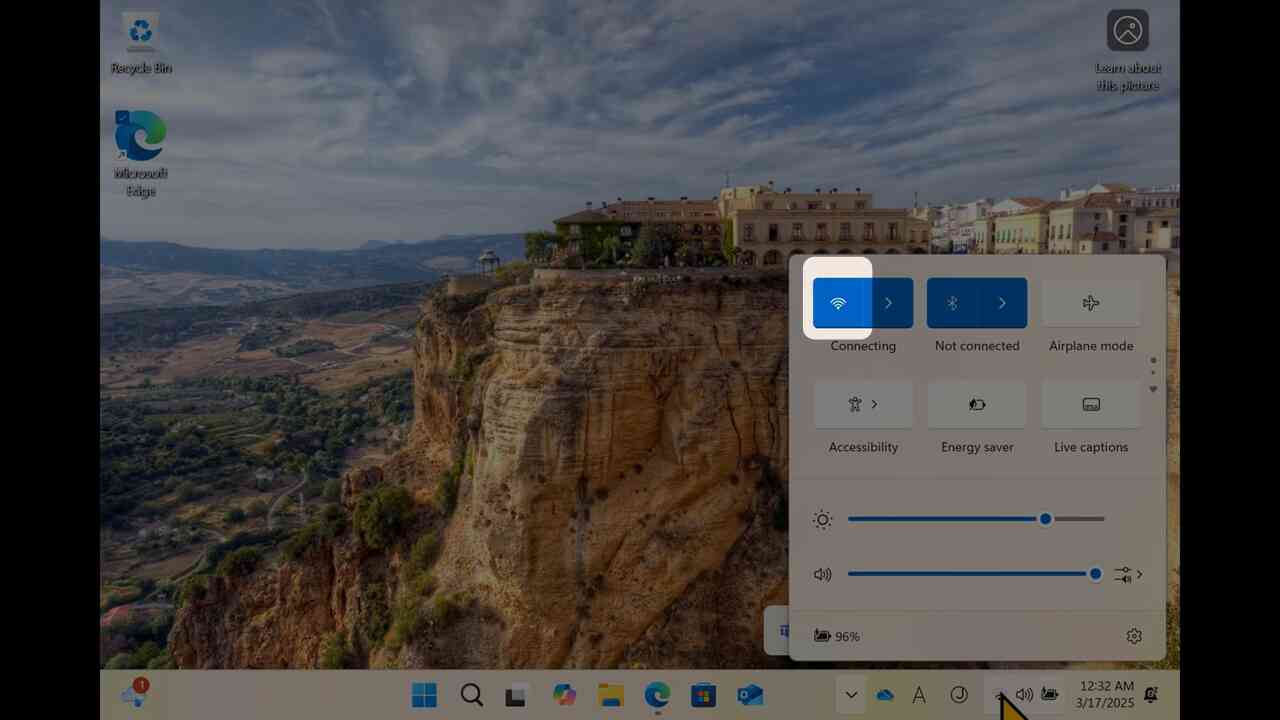
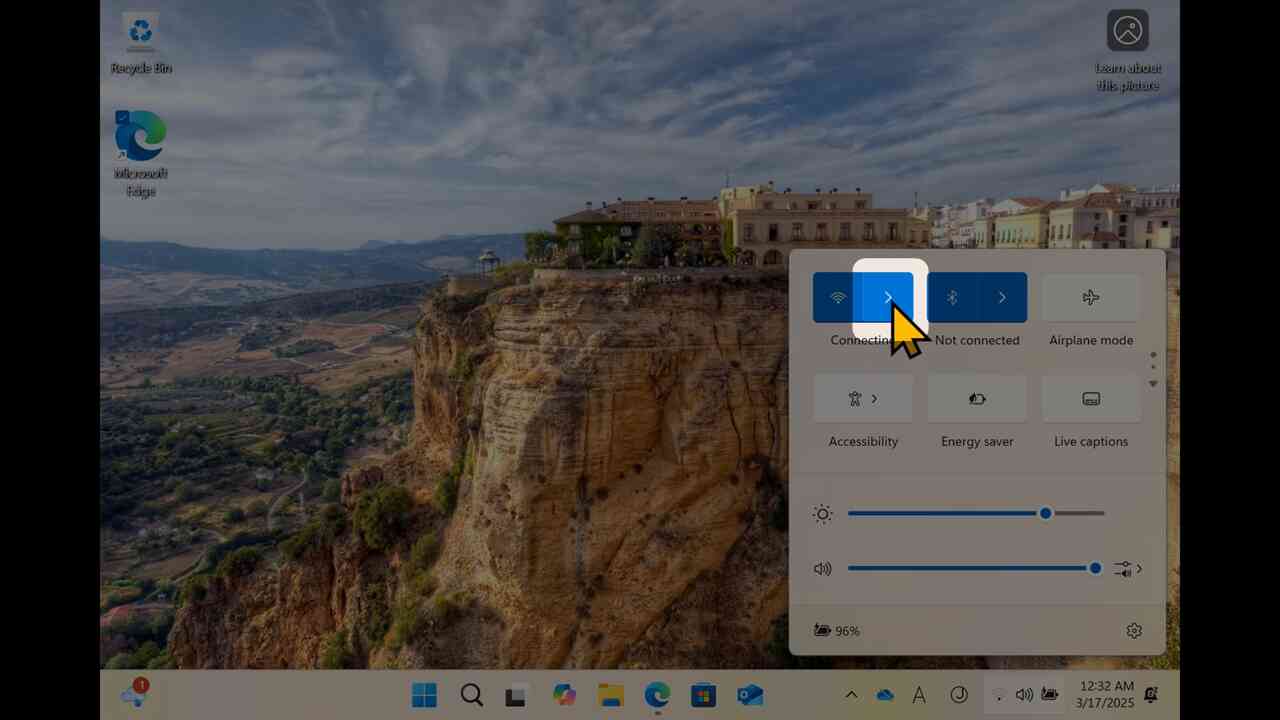
[5] Click ">" at the right of "radiowave" icon.
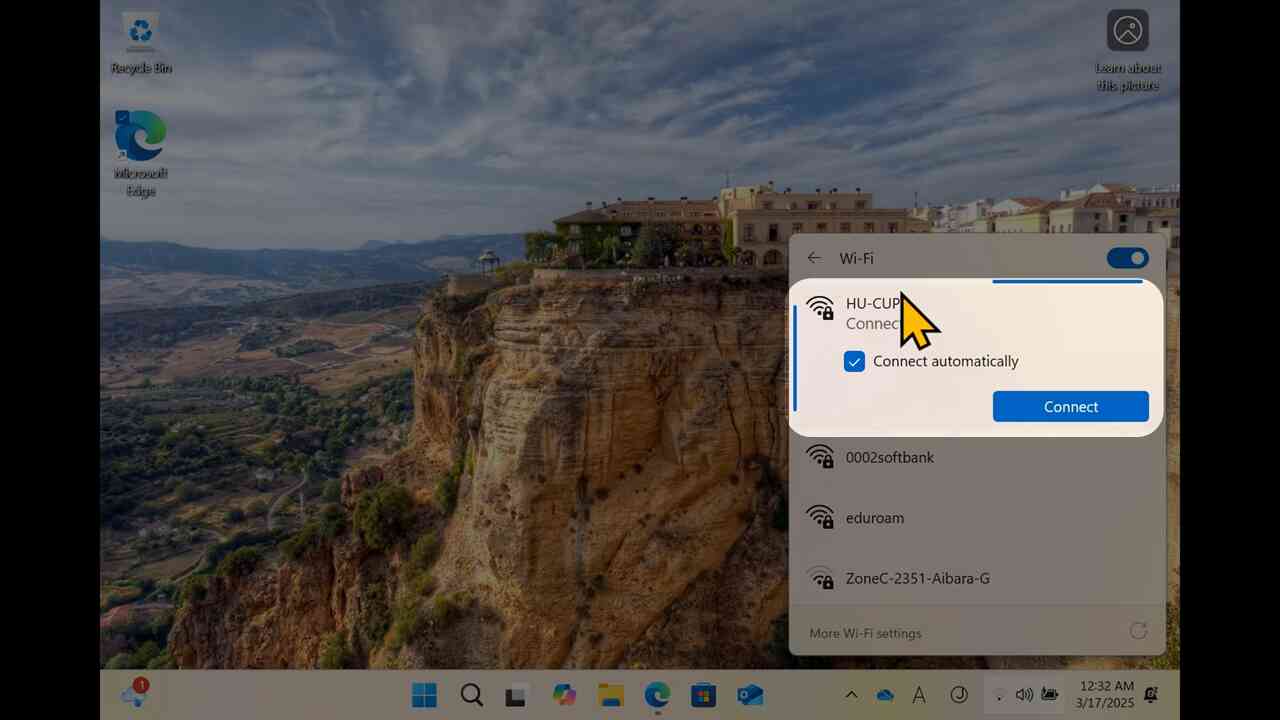
[6] You would find the list of available WiFi stations.
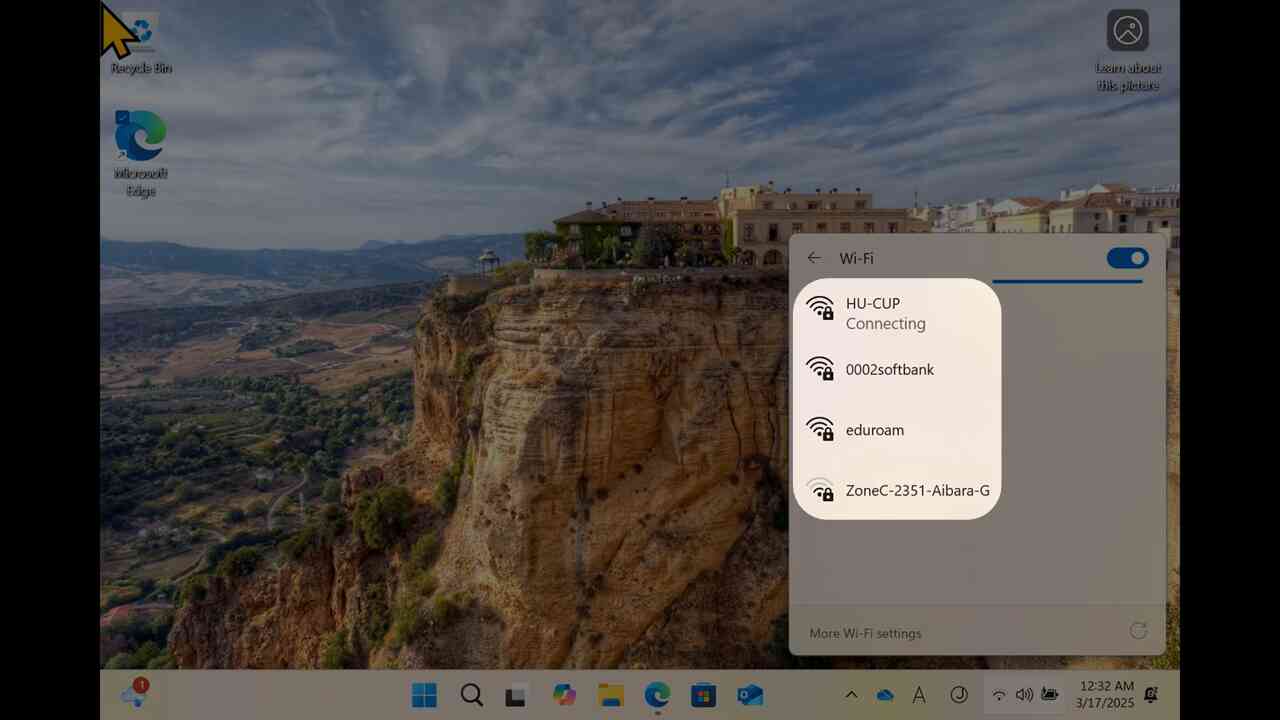
[7] Choose "HU-CUP", and check "Connect automatically", then proceed to "Connect".
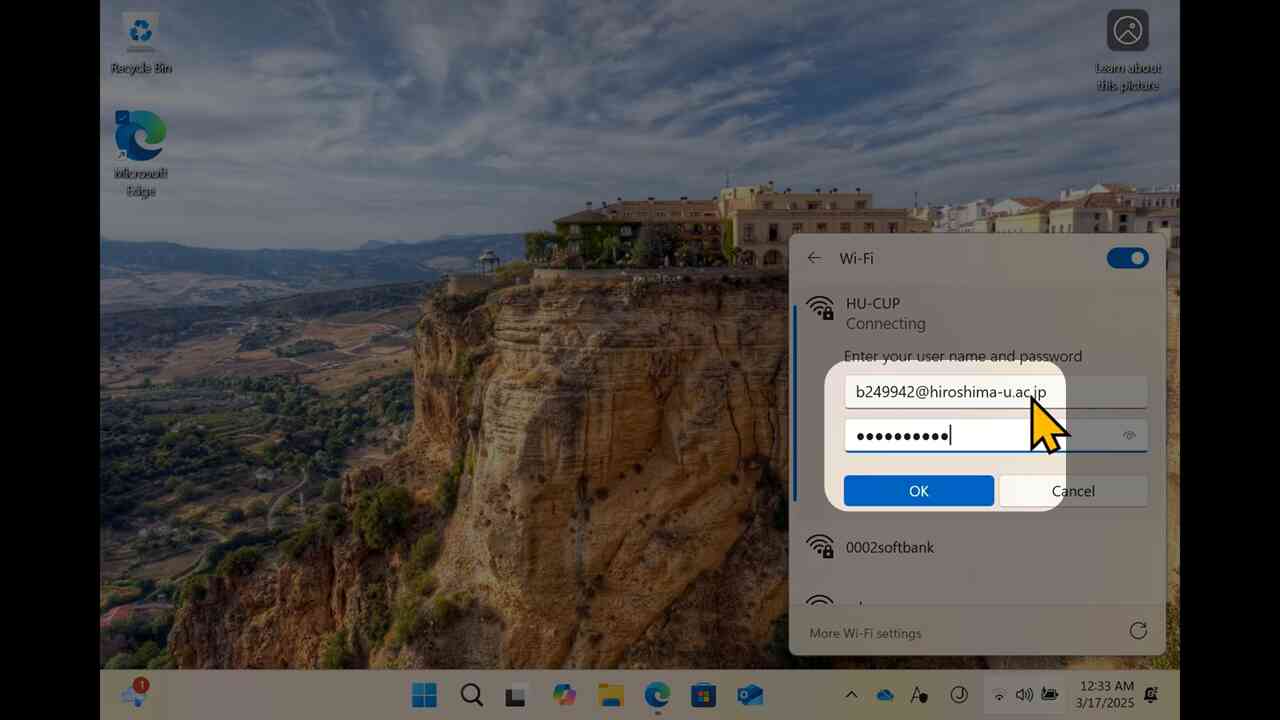
[8] Fill your IMC accunt (starting with lowercase alphabet, followed by digits, plus "@hiroshima-u.ac.jp") and password, and click "OK".
[9] Click "Connect" as far as you are in the campus of our university.
Laptop PC Check List would ask whether your PC can connect with the campus network.
check 10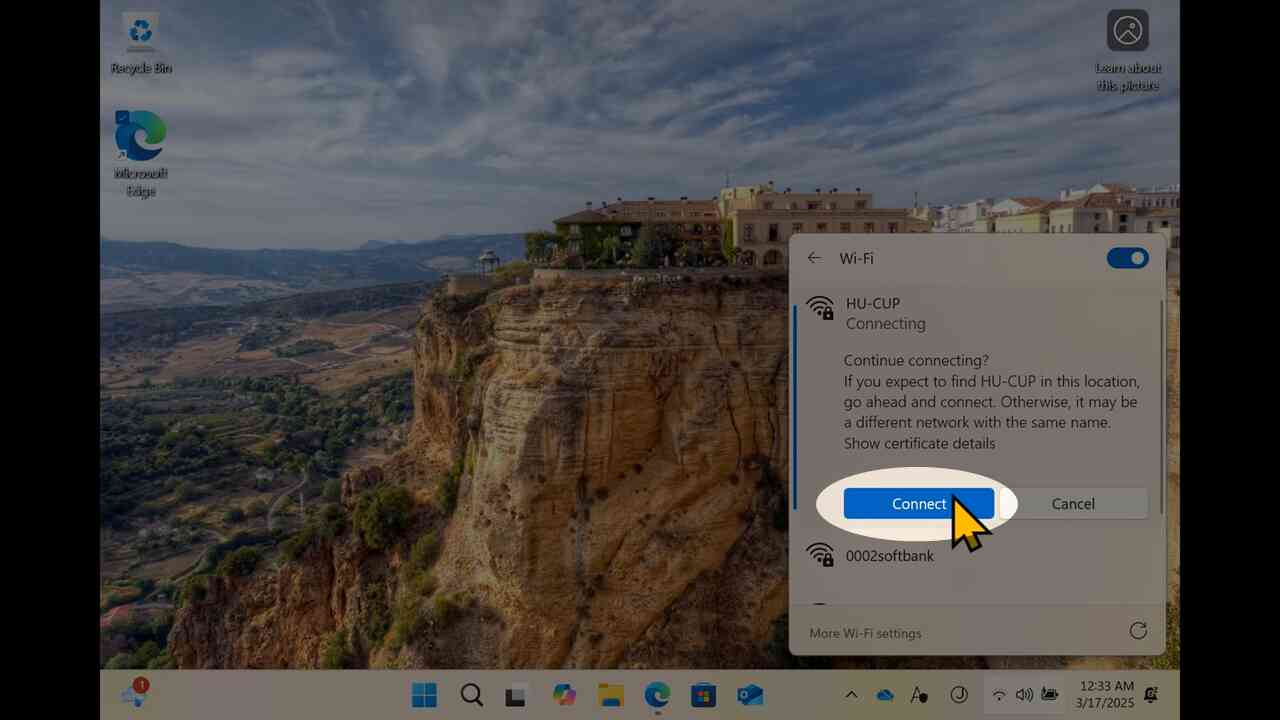
[10] Once you configure a WiFi network, your PC would keep the account & password to connect the configured WiFi. When you change your password (the password you received in the admission has a validity period, you should change it by yourself), or your ID is changed (e.g. from bachelor to graduate school, from graduate school to staff), you should reconfigure the cached configuration. In below, the procedure how to make your PC forget about the configured network is described. You do not have to do it immediately, but when your ID or password is changed, you should do it.
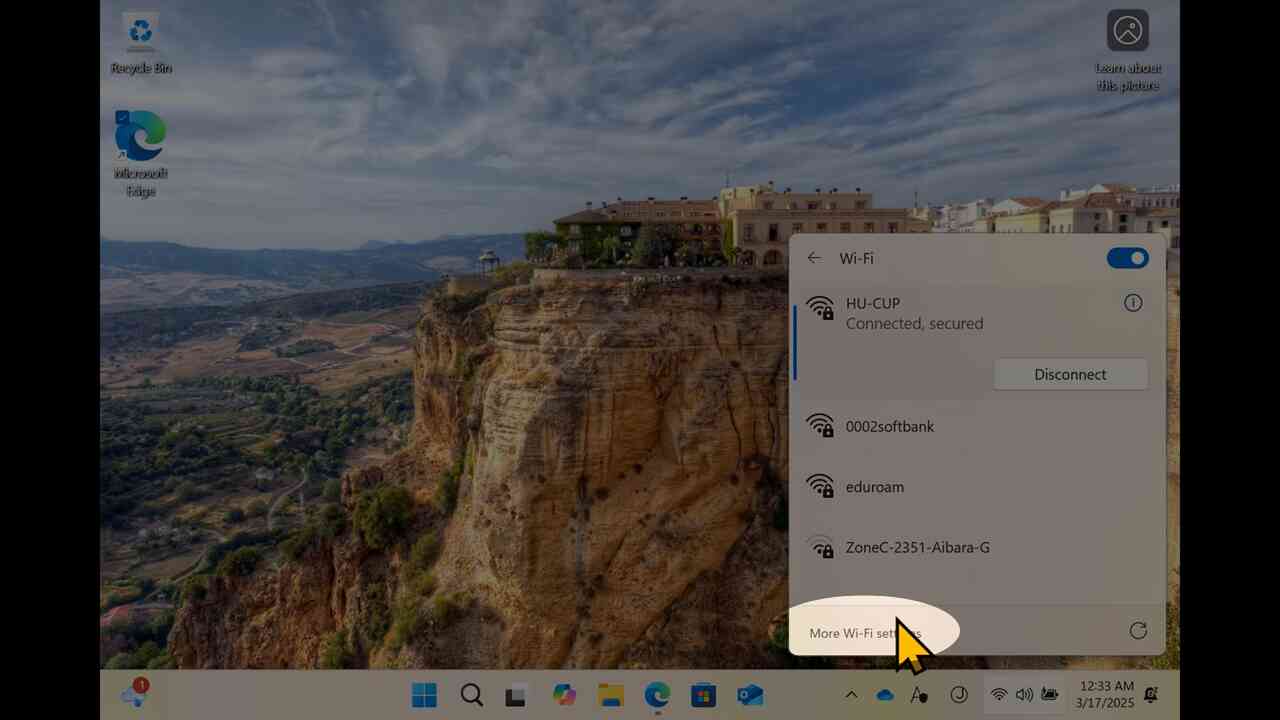
[11] Open WiFi menu, and proceed to "More Wi-Fi settings".
[12] Proceed to "Manage known networks".
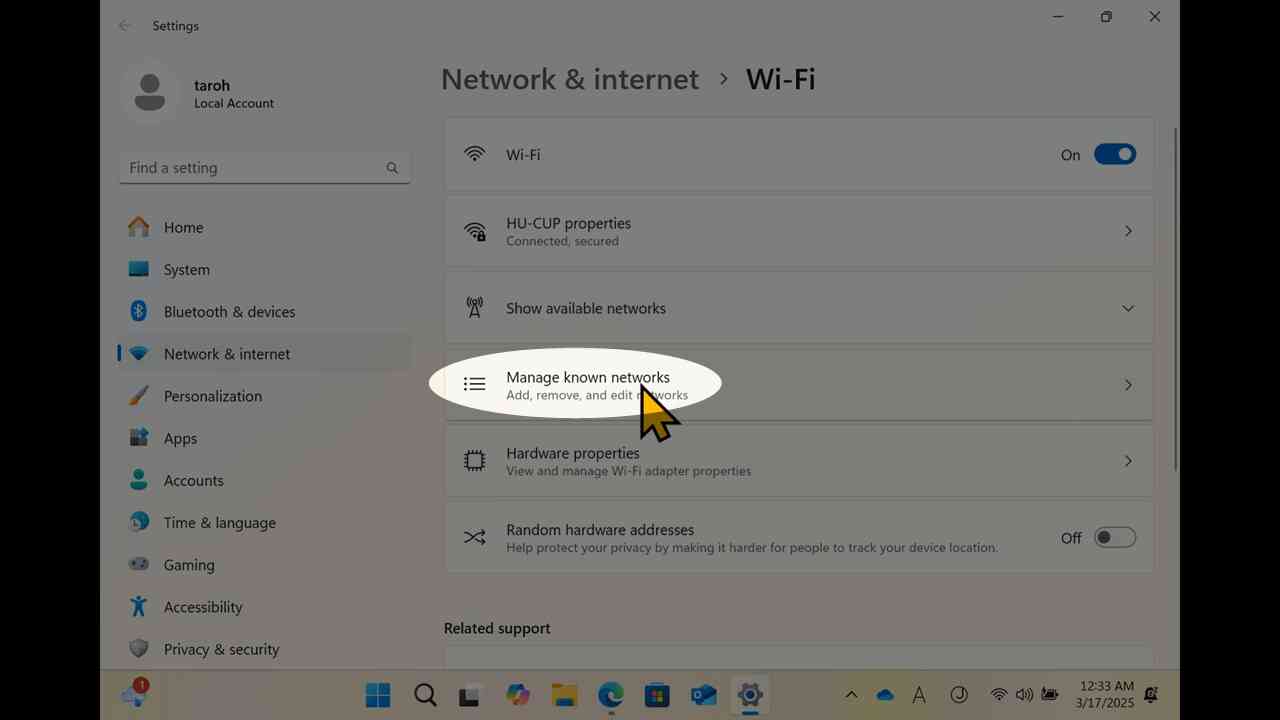
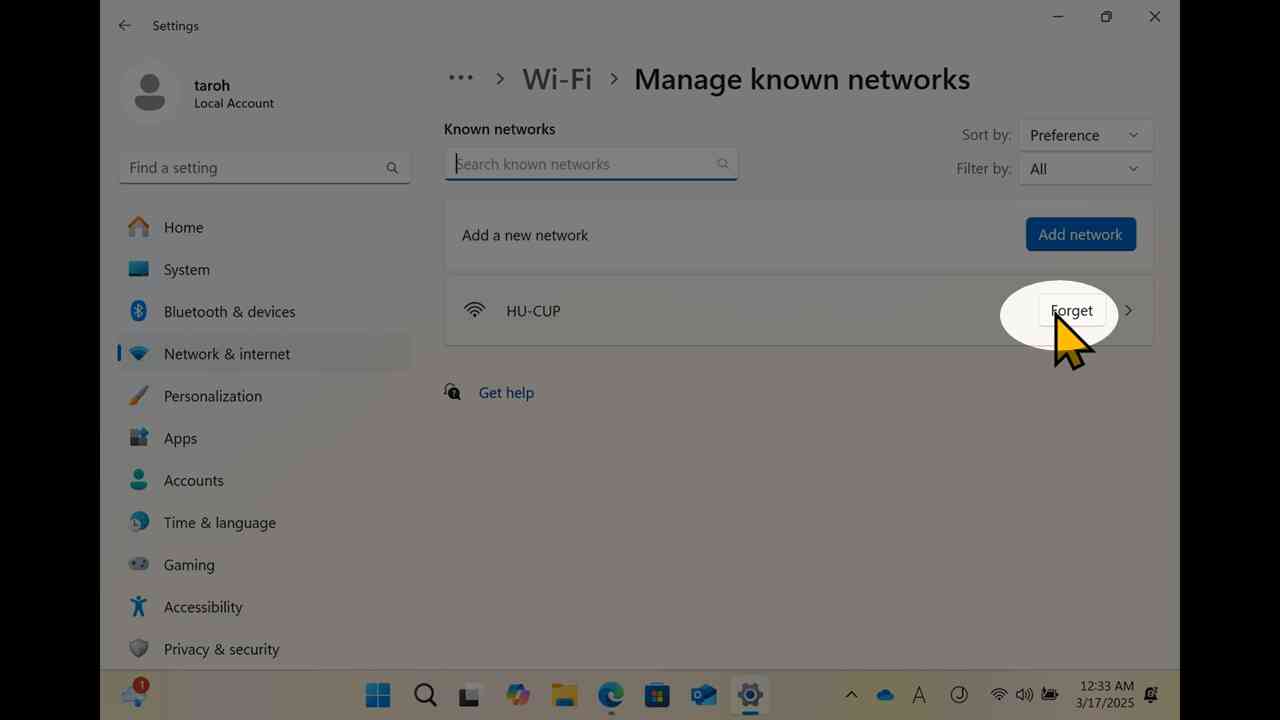
[13] Choose the network caching invalid ID & password, and click "Forget" button.
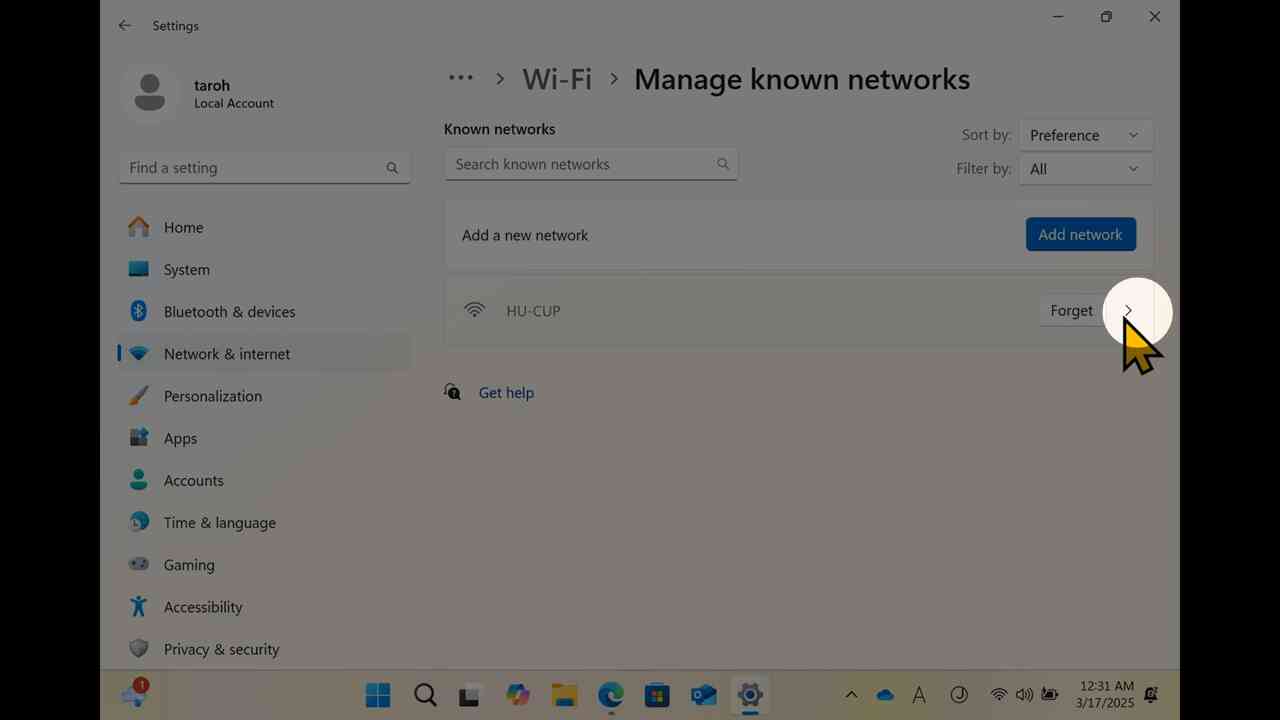
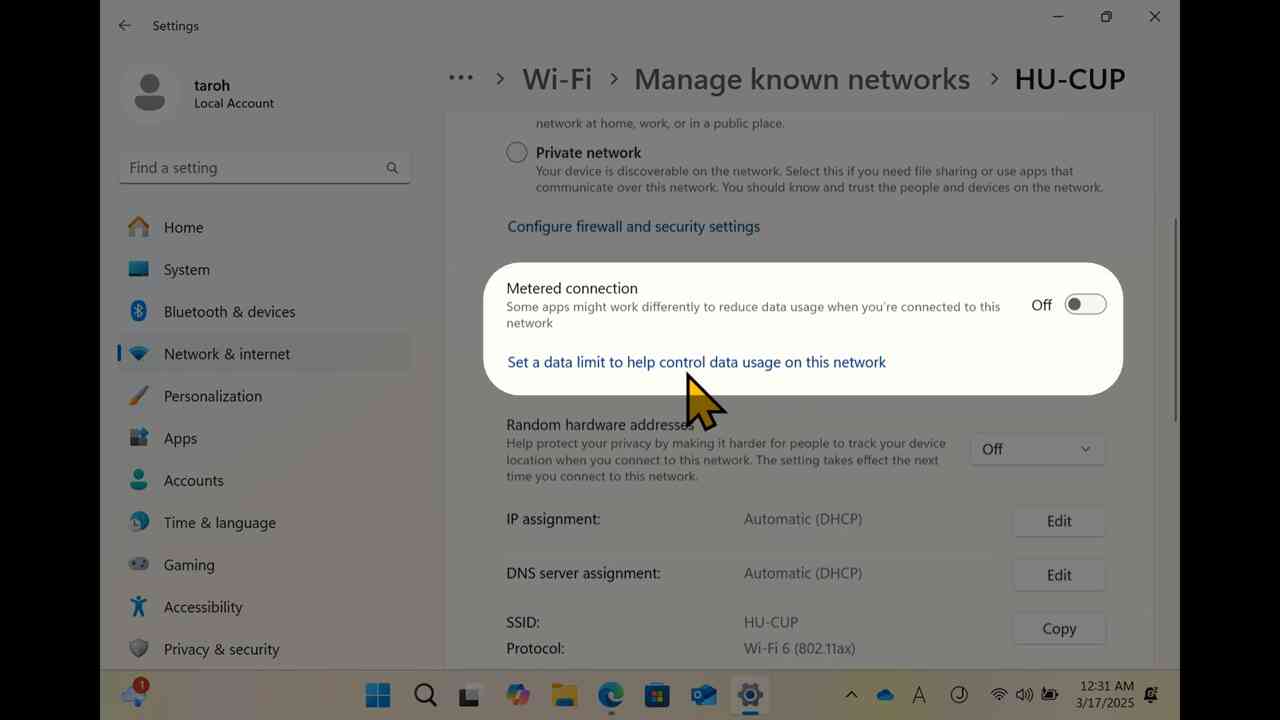
[14] The "Manage known networks" menu has more configuration. If you want to disable auto-reconnect of some WiFi networks, or classify some networks as "metered" to avoid the huge update, you can find the menu through "Manage known networks".
[15] Click ">" at the right side of "Forget".
[16] The properties of the selected network are shown.
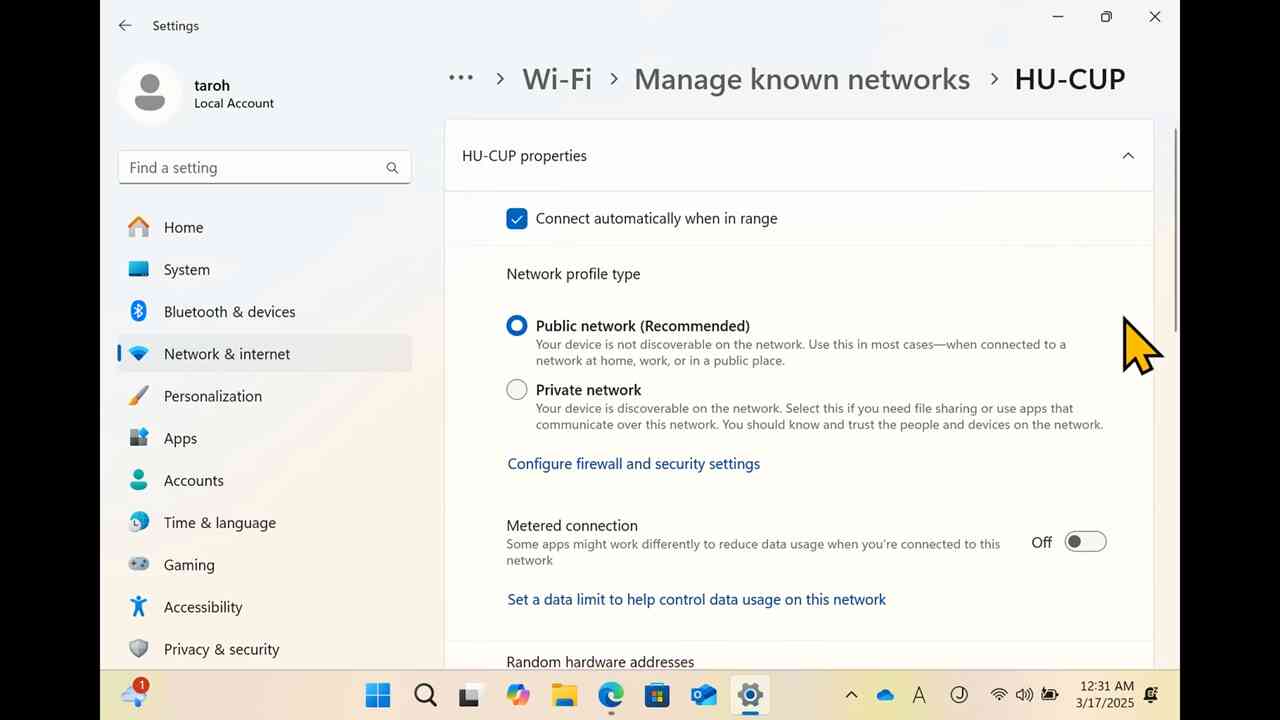
[17] "Metered connection" switch can declare the network is metered, and it can restricts the Windows Update under the metered network by default. Also you can configure Windows Update to allow the metered network from Windows Update configuration, but it is safer to declare/undeclare the metered network.
Configure Multi-Factor Authentication for Hirodai ID
[18] This PDF intructs how to configure MFA for Hirodai ID. This is required for the access from out of the campus network.
Laptop PC Check List would ask whether your Hirodai ID is configured for MFA.
check 11Configure Multi-Factor Authentication for IMC Account
[19] This PDF intructs how to configure MFA for IMC account. This is required for the access from out of the campus network.
Laptop PC Check List would ask whether your IMC account is configured for MFA.
check 12